Getting A LAMP Stack Running on ChromeOS Containers via Project Crostini

I posted a tutorial yesterday on how to get Android Studio running on ChromeOS via Project Crostini Containers but I realize that not everyone is a Android Developer. Today’s tutorial will appeal to PHP Developers who would like to do some local development and testing on their Pixelbook via Project Crostini. Of course this is not designed to allow you to host production websites but it will work for those who wish to build and test PHP based web applications.
Disclaimer: This Page Has Been Archived
Please note that this blog post has been archived and may contain information that is outdated, defunct, or covers topics that are no longer of interest. It is being kept available solely for reference purposes, in case others might find portions of it useful.
For more recent and up-to-date tutorials, I recommend visiting KMyers.me or other websites that specialize in the topic you are interested in. It is always advisable to seek the most current information to ensure accuracy and relevance.
By now, I am going to assume you know how to setup a Crostini VM and Container, if not, please follow the steps outlined in this knowledgebase entry. The steps below will start assuming that you are already in your virtual machine at the username@stretch prompt.
Run the following commands at the terminal.
sudo apt-get update
sudo apt-get dist-upgrade
sudo apt install apache2 apache2-utils
sudo systemctl enable apache2
sudo apache2 -v
sudo apt install mariadb-server mariadb-client
sudo systemctl enable mariadb
sudo mysql\_secure\_installation
sudo apt install php7.0 nano libapache2-mod-php7.0 php7.0-mysql php-common php7.0-cli php7.0-common php7.0-json php7.0-opcache php7.0-readlin
sudo a2enmod php7.0
sudo systemctl restart apache2
Once the install is complete, your webroot will be in /var/www/html/
You will now need to get the IP Address of your virtual machine by running the command “ip addr”.
kmyers@stretch:~$ ip addr
1: lo: <LOOPBACK,UP,LOWER\_UP> mtu 65536 qdisc noqueue state UNKNOWN group default qlen 1000
    link/loopback 00:00:00:00:00:00 brd 00:00:00:00:00:00
    inet 127.0.0.1/8 scope host lo
       valid\_lft forever preferred\_lft forever
    inet6 ::1/128 scope host
       valid\_lft forever preferred\_lft forever
4: eth0@if5: <BROADCAST,MULTICAST,UP,LOWER\_UP> mtu 1500 qdisc noqueue state UP group default qlen 1000
    link/ether 00:16:3e:8f:a0:f0 brd ff:ff:ff:ff:ff:ff link-netnsid 0
    inet 100.115.92.219/28 brd 100.115.92.223 scope global eth0
       valid\_lft forever preferred\_lft forever
    inet6 fe80::216:3eff:fe8f:a0f0/64 scope link
       valid\_lft forever preferred\_lft forever
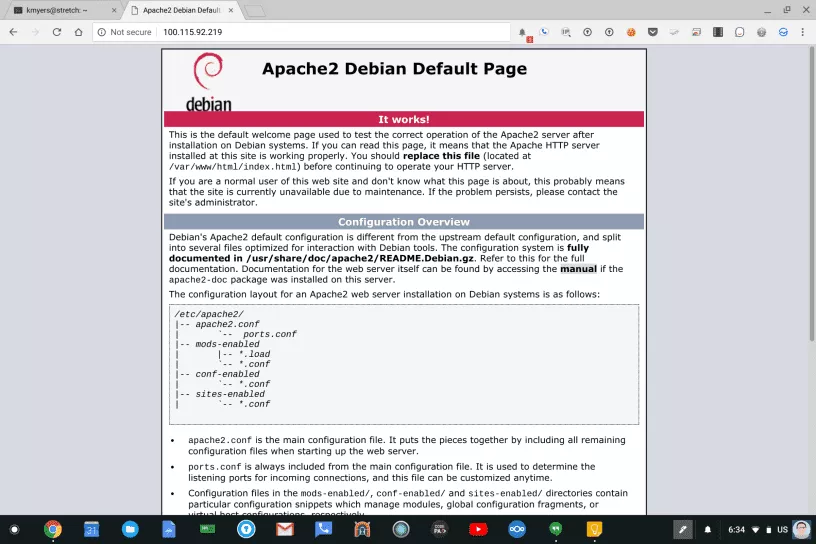
In my case, my IP Address is 100.115.92.219. This IP Address can be entered into the Chrome Browser on your Pixelbook and if everything went well, you should be greeted with the Apache Welcome Screen.
Happy Developing!