Installing Simplify3D on Chrome OS with Project Crostini
It is healthy for people to have hobbies outside of their day jobs, one of my personal hobbies is 3D Printing. I have been planning to cover more 3D Printing stuff on my blog (along with the normal stuff I cover). I have covered a few 3D printing posts in the past but I feel it is time to start posting more. My first post will be getting my favorite slicer, Simplify 3D to run on a Chromebook via Crostini.
Disclaimer: This Page Has Been Archived
Please note that this blog post has been archived and may contain information that is outdated, defunct, or covers topics that are no longer of interest. It is being kept available solely for reference purposes, in case others might find portions of it useful.
For more recent and up-to-date tutorials, I recommend visiting KMyers.me or other websites that specialize in the topic you are interested in. It is always advisable to seek the most current information to ensure accuracy and relevance.
Please Note : Simplify3D is commercial software which requires you to purchase a license. This post is in no way sponsored by Simplify 3D and I purchased my license at retail cost. This post assumes you have purchased Simplify 3D. This guide also assumes you already know how to use Simplify 3D and how to use the interface on your 3D Printer.
Note 2: Due to limitations with Chrome OS and Project Crostini, it is not possible for you to connect your Chromebook to a 3D printer via USB. This will however allow you to export the .gcode file to a location that you can either save to a SD Card or print via a Web Interface if your printer supports it.
Initial Setup
Step 1) Log Into your Simplify3D Account and select “Downloads”
Step 2) Under “Operating System” select “Linux 64-bit” and “Download Software Installer”
Step 3) Launch the Chrome OS “Files” application and navigate to “Downloads”
Step 4) Drag the “Simplify3D-X.X.X-linux-x64-installer.zip” file into your “Linux Files” directory
Step 5) Launch your favorite Terminal Application and run the following commands
unzip Simplify3D-\*.zip
rm Simplify3D-\*.zip
xhost +
sudo ./Simplify3D-4.0.1-linux-x64-installer.run
This will launch the Installer, please follow all on-screen prompts to complete the install.
In order to Launch Simplify 3D, you need to run the following command via a terminal.
bash /opt/Simplify3D-4.0.1/LaunchScript.sh
You will be prompted to authenticate with your Simplify 3D credentials on first launch. If this is your first launch, you will now see a Printer Setup Wizard.
Step 1) Select your Printer or “Other” if not listed. In my case, I will be selecting the Monoprice Select Mini
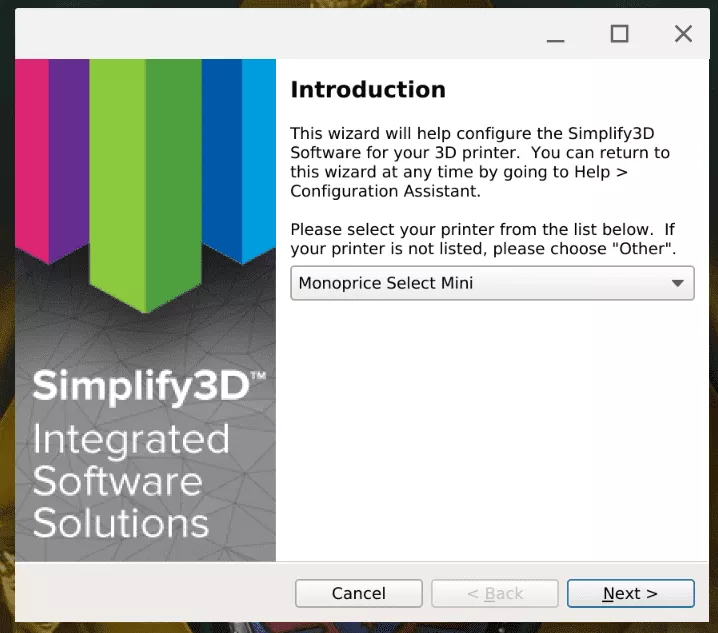
Step 2) If your printer is on the list, the Setup Wizard will do everything needed to configure the software for your printer. If it is not on the list, you will be prompted to enter the values that come from your printer’s manufacturer.
Printing Your Model
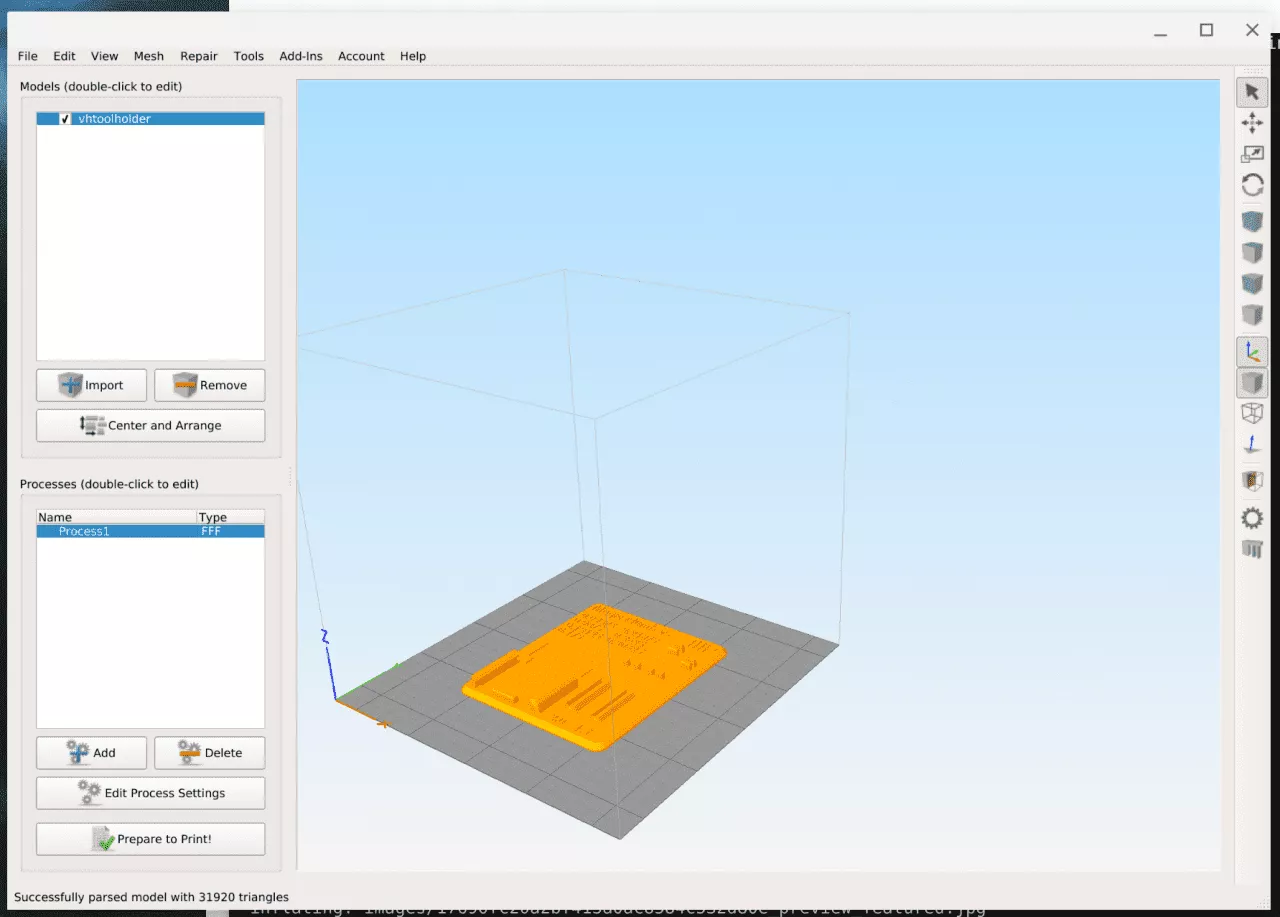
Step 1) Save your model in your “Linux Files” filesystem. If you are downloading your model from Thingiverse, you will need to drag it from your “Downloads” folder to your “Linux Files”
Step 2) Import the STL or OBJ file into Simplify 3D and set your materials/preferences in the “Process Settings”. You should also define raft and supports if needed.
Step 3) Select “Prepare to Print”
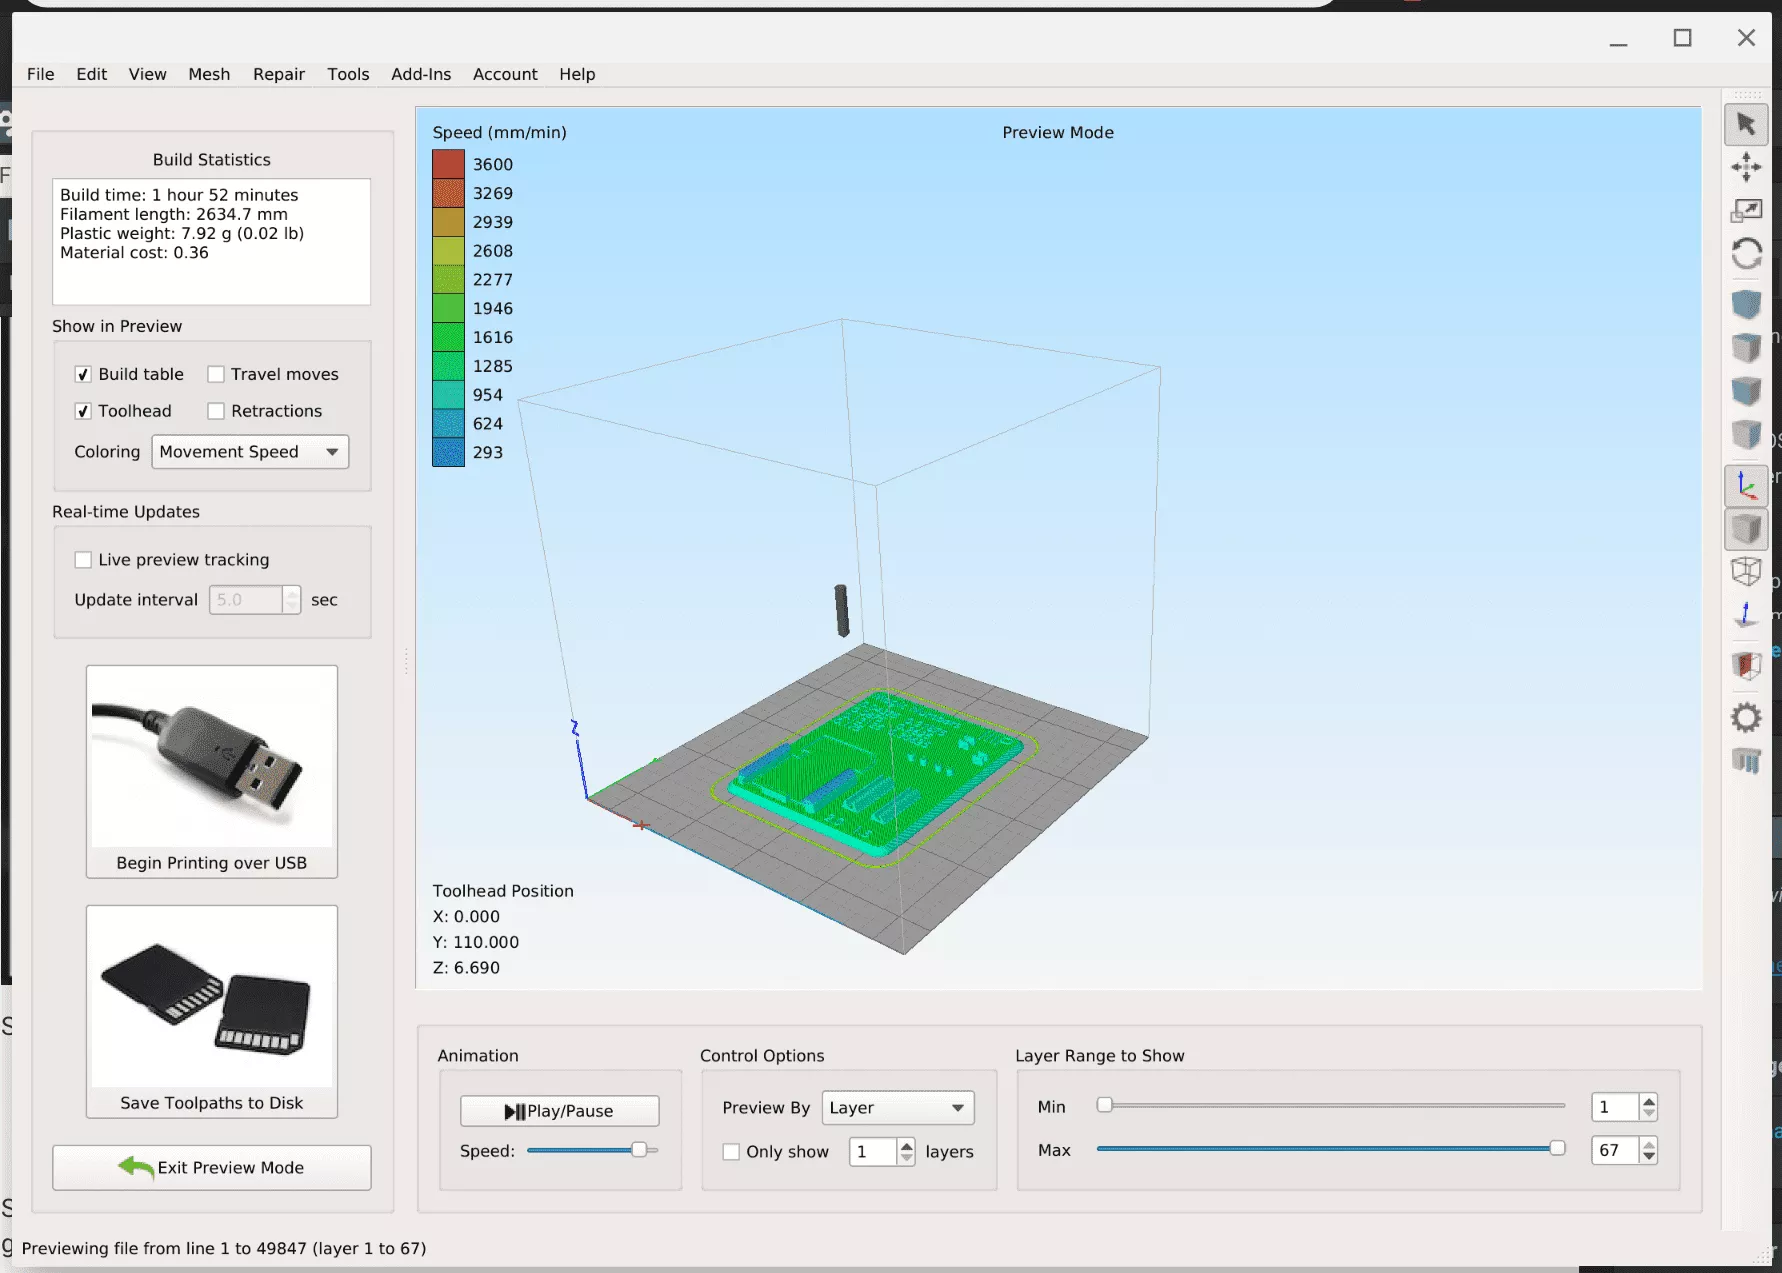
Step 4) Select “Save Toolpaths to Disk” when you are happy with your model. Save the resulting .gcode in a directory that you can easily locate it from within Chrome OS such as your Linux home directory
Step 5) From within Chrome OS, select the “Files” application and select “Linux Files”. Locate your .gcode file and drag it onto a SD card and start the print on your printer’s built in interface. If your printer has WiFi printing support/Octoprint, you can upload the gcode directly to your printer from the Chrome web browser.
Conclusion
Simplify 3D is an amazing application but it is quite expensive so this tutorial will only appeal to a small number. I will be adding posts to get some free solutions working in the near future so stay tuned.