The Ultimate Chromebook/Pixelbook Desk Setup
Some people say that ChromeOS is a limited Operating System but as someone who has been using ChromeOS for a few years now, I have to respectfully disagree. I purchased my Pixelbook to upgrade my previous Chromebook back in February and I have not regretted it yet – the Pixelbook is by far the best laptop I own. It is so good that it has become my primary machine. With that said, I do like to use a multiple display setup when I am at my desk – complete with a full keyboard, mouse, speaker, and 2 additional 23 inch displays. Also, this setup will work with Windows, MacOS, Linux, ChromeOS and even Android! Here is how I did it.
The Chromebook
The Chromebook I am using for this is the 256 GB Pixelbook however in reality just about any Chromebook with a USB 3.0 Port and a decent CPU will work with this setup – that pretty much includes all Chromebooks made in the past 3 years – or more in some cases. The architecture of the Chromebook (or technically even Chromebox) does not matter as this will work with both x86_64 and ARM based devices. Ideally you do want a device with at least 4 GB of RAM and a Dual Core CPU. The device you choose DOES NOT need to support HDMI, MHL or Video over USB Type C for this to work.
Note : Technically this setup is not limited to Chromebooks – Windows, MacOS, Linux and even Android will work on the same exact setup. You can even hot-swap laptops as needed. This setup however does not currently support the Open Source version of ChromeOS – ChromiumOS at this time. As this guide is focused on ChromeOS, I will not be providing details on how to get it to work on these other platforms however you can visit the DisplayLink webpage for drivers and instructions.
The Dock
For this setup, I used aPlugable USB 3.0 Universal Laptop Docking Station. Plugable states that this dock is Windows ONLY however that is not exactly correct as they are using the DisplayLink standard. Plugable does not provide the drivers on the CD that is included in the box for any operating system except for Windows so you will need to grab the drives from the DisplayLink website for other operating systems – except for ChromeOS as they are built right in.
DisplayLink in ChromeOS
ChromeOS has had built in support for DisplayLink since R51 of ChromeOS which was released in mid-2016. DisplayLink docks will allow ChromeOS to use an additional 2 displays at 1080p. There is nothing to install or configure as it simply works out of the box. Monitors will show up under the ChromeOS Display Settings.
The Plugable USB Dock will also add an additional 6 USB 3.0 Ports and Audio In/Out Ports. I have a Logitech MX800 Keyboard/Mouse Combo connected to the docking station to allow me to use a full sized keyboard and mouse. While docked, the built in display on your Chromebook will also continue to work so you are getting 3 a total of 3 displays.
Sadly there is one small problem with this dock, it does not provide power over USB to charge my Chromebook while docked. It also only includes a USB 3.0 Type A cable in the box which can be a problem if your Chromebook is limited to Type C. As My Pixelbook only has Type C, I did purchase a simple powered USB C hub in which I connected the DisplayLink cable to the USB 3.0 Port and a Anker 40W USB C-PD power adapter to the Type-C power in on the USB Hub. In order to hide the mess of cables, I purchased a short USB-C Extension Cable so I can keep the hub out of sight and only have 1 single USB cable on the desk to connect to the Chromebook.
The Displays
For the dual displays, I purchased two Acer G246HL 24-Inch Screen LED Monitorsbut feel free to use any other displays that you have access to. These monitors have great viewing angles and work well for this setup. In order to maximize desk space, I removed the stands from the monitors and replaced them with a VIVO Dual Arm Display Mount.The mount only takes up about 3 inches of desk space in total and allows me to hide the cables to the displays.
Finally there is one last thing you will need – a simple HDMI to DVI adapter. This adapter is needed as the Plugable Dock only has 1 HDMI and 1 DVI Port where the displays only have SVGA and DVI Ports – so this will allow you to convert the HDMI port over to DVI to power the second display.
Optional Stuff
You do not need anything below to replicate my setup however these are a few items I also have on my desk to allow me to be more productive.
AC Outlet/USB Power
I keep a TROND Prime Mini 2-Outlet Surge Protector Power Strip on my desk at all times. This is held down with double stick mounting tape so it is always accessible when I need to plug in a laptop, soldering iron or just about anything else. I also use the USB ports on the front to charge USB Battery Packs, Bluetooth headsets and other USB accessories. I also keep a second TROND Prime Mini 2-Outlet Surge Protector Power Striptaped to the underside of the desk for additional power.
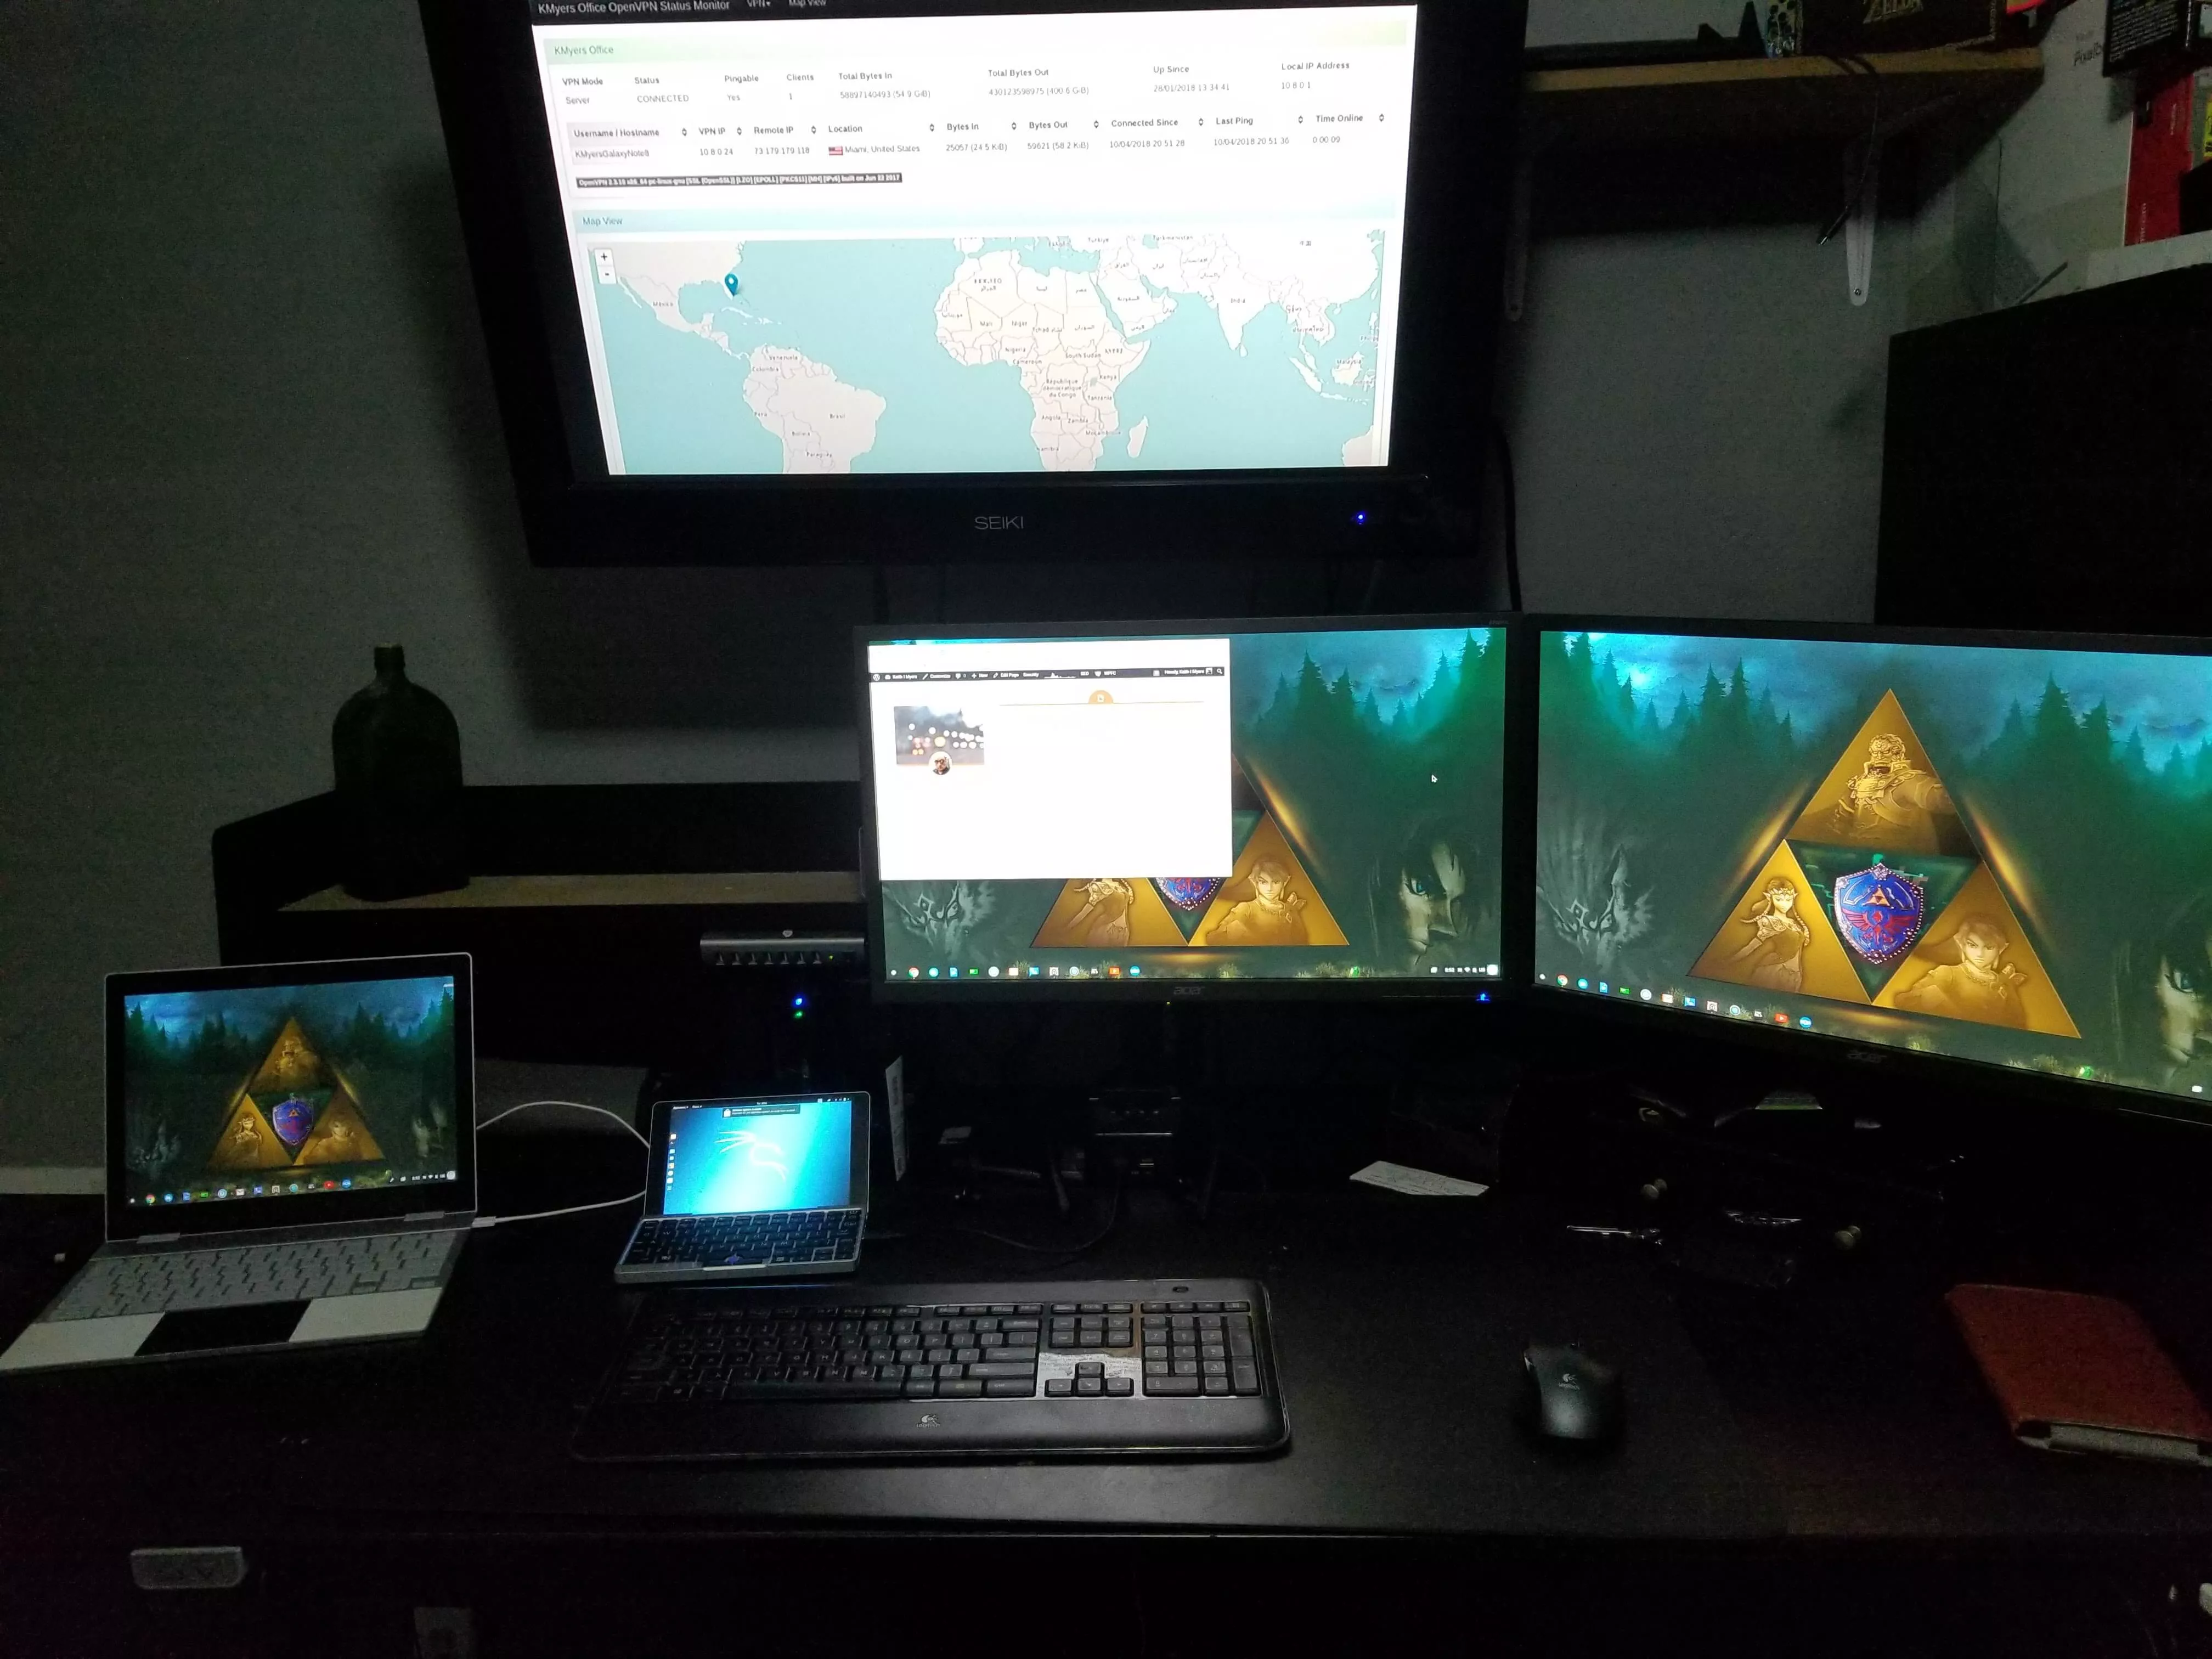
A TV with a Chromecast
I keep a 32 inch TV mounted above my desk and it serves two purposes; it allows me to cast a Chrome tab to the Chromecast so I can monitor various dashboards and systems while I work, it also allows me to cast streaming media content to if I want to take my mind off of work for a bit.
USB to Ethernet
There is a limitation with DisplayLink docks that cause the built in Ethernet port to not work. If Ethernet is needed, you can purchase a simple USB to Ethernet to USB Adapter to plug into one of the USB Ports on the dock.
Putting It All Together
Simply assemble everything and connect all of the cables. Once everything is powered up, simply connect your Chromebook and everything should just work. You may need to access the Display Settings in ChromeOS to change the layout of the displays.
Some Limits
This article is titled the “The Ultimate Chromebook/Pixelbook Desk Setup” not “The Perfect Chromebook/Pixelbook Desk Setup”so there are a few limits that may annoy some.
Protected Content Will Not Be Displayed on External Displays
DisplayLink cannot display protected content. This is currently only a limitation with select Android Applications if ran on ChromeOS such as Banking Applications, Password Managers and Streaming Media Content (Netflix). Basically if it is one of the applications that you cannot take a screenshot of in Android, it will simply display as a black box on the DisplayLink External Displays – It will however work normally if on the Chromebook Display.
Overhead
DisplayLink adapters are not as efficient as other methods of having an external display. I wont go into the technical details as to why but it is worth saying that some lower end Chromebooks may be too under-powered for this. I have personally tested it on devices with 4 GB of RAM or higher and decent processors. It is impossible for me to tell you what the minimum requirements will be for each individual person as it will highly depend on your workload. If you have a more powerful Chromebook then it is not unfeasible to do some gaming on the external display.