A Guide On Building Your Own ChromiumOS Distribution (with OTA Updates and Crostini)
There are a few pre-made distributions to allow you to run a version of ChromiumOS on existing hardware such as CloudReady and FideOS however there are several benefits to building your own distribution from scratch. ChromiumOS is the open source of the popular ChromeOS operating system. By following this guide, you will get a version of ChromiumOS that should boot on most hardware (with a 64 bit Intel or AMD Processor). This version will also give you access to Linux Apps via Crostini and even enable the same OTA upgrade service that users on ChromeOS enjoy.
Disclaimer: This Page Has Been Archived
Please note that this blog post has been archived and may contain information that is outdated, defunct, or covers topics that are no longer of interest. It is being kept available solely for reference purposes, in case others might find portions of it useful.
For more recent and up-to-date tutorials, I recommend visiting KMyers.me or other websites that specialize in the topic you are interested in. It is always advisable to seek the most current information to ensure accuracy and relevance.
Requirements
There are several requirements that are needed in order to build your own ChromiumOS distribution from source. These instructions will also assume that you wish to enable OTA upgrades.
- A Build Server – This can be a local machine on your LAN with a static IP address however I highly recommend a leased dedicated server in a data center. I do not advise doing this on a VPS provider’s server as you may experience severe performance issues and your build may fail (it should be possible with a KVM VPS but again, I do not advise this). You can get an inexpensive server and hosting from a provider such as Dacentec if you wish – any dedicated server they offer will work for this. You will need the following specs:
- A 500 GB Hard Drive – Technically you will need ~80 GB however I advise more for the OTA updates
- Ubuntu 18.04 (64 bit)
- 16 GB of RAM – It may be possible to build with 8 GB of RAM but you may see slower builds
- At least a Dual Core Processor
- A Static IP Address or Fully Qualified Domain Name
- Root Access (ability to run “sudo”)
- A Development Machine – This is only a machine to control your server and issue commands. It can be your daily laptop and does not need to be dedicated. Your may use any operating system you wish as long as it has access to a SSH client. You will also need to use this operating system to flash the image from your build to a flash drive. Your development machine does not need to be a powerful machine as all of the building will be done on the build server.
- A Flash Drive – 8 GB is the minimum
- Hardware to boot your distribution (this can be a old laptop or desktop)
- Some basic Linux Skills
Prepping the Build Server
You should have your Build Server setup with Ubuntu 18.04 for this guide. You do not need a desktop environment, only SSH access is needed. All of the steps below should be done on the Build Server via SSH.
Installing Prerequisites
Run the following commands on the Build Server
sudo apt-get update
sudo apt-get dist-upgrade
sudo apt-get install git-core gitk git-gui curl lvm2 thin-provisioning-tools \\
     python-pkg-resources python-virtualenv python-oauth2client nano screen
If on Ubuntu 19.10 or higher, use the following commands instead
sudo apt-get update
sudo apt-get dist-upgrade
sudo apt-get install git gitk git-gui curl lvm2 thin-provisioning-tools \\
     python-pkg-resources python3-virtualenv python3-oauth2client nano screen
Reboot your server by running “sudo reboot now” and re-connect to your server via SSH once the reboot has been completed.
Installing Depot_Tools
Building ChromiumOS requires several custom applications that need to be installed manually. Run the following on your build server.
cd ~
git clone https://chromium.googlesource.com/chromium/tools/depot\_tools.git
You will need to edit your .bashrc by runing “nano ~/.bashrc” and add the following lines at the end
export PATH="$HOME/depot\_tools:$PATH"
umask 022
You should now exit your shell by typing “exit” and re-connect to the server.
Setting up API Keys
In order to build ChromiumOS from source, you will need to get API Keys from Google.
Subscribe to the ChromiumOS Development Group on the GMail or GSuite account that you wish to use for development. This will give you access to the ChromiumOS specific API options in the Google Developer Console. You may need to wait a few minutes after subscribing for access to be granted.
Open a web browser on your Development Machine and visit https://cloud.google.com/console.
Select the Drop Down at the top of the page
Select “New Project”
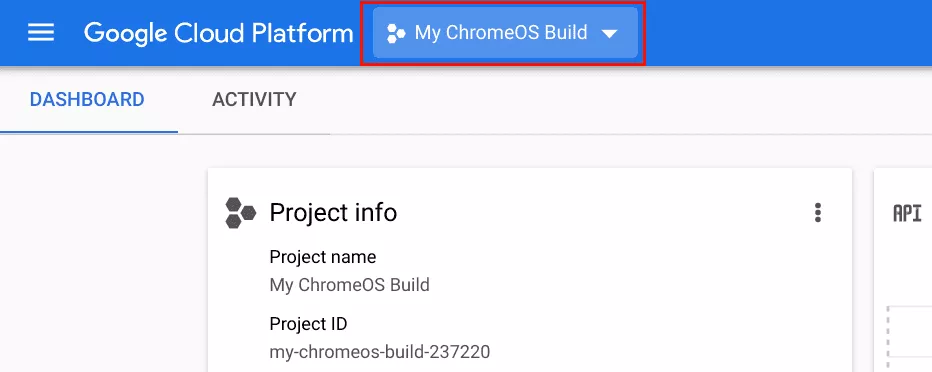
Enter a Unique Name for your Project, In my case, I will use “My ChromeOS Build” followed by “Create”

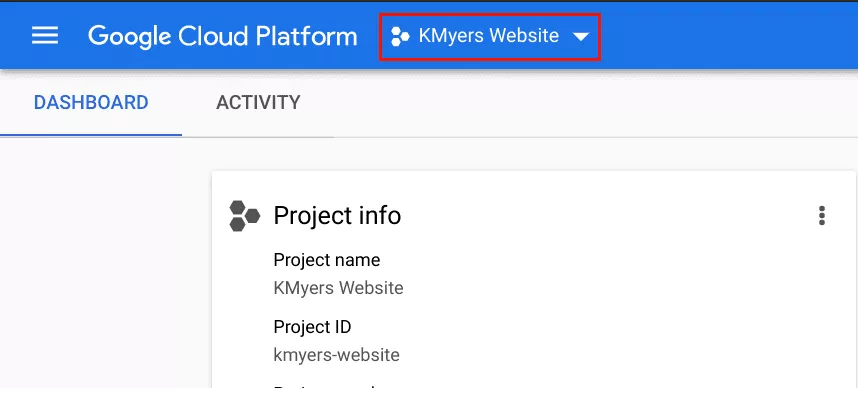
Switch to your new Project via the Project Select Menu to ensure you are allocating the APIs to the correct project
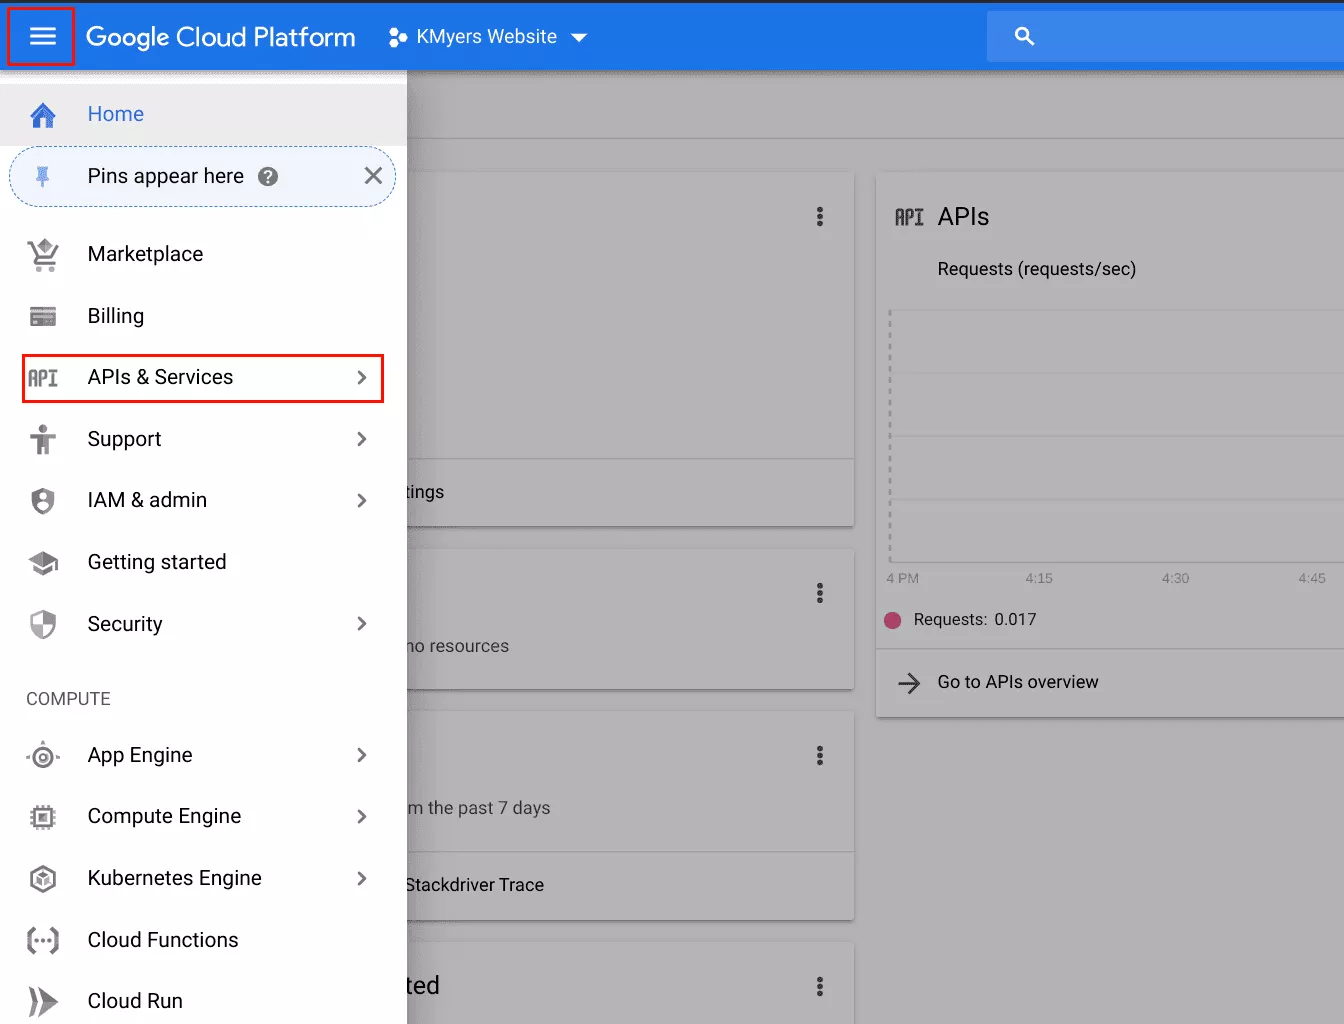
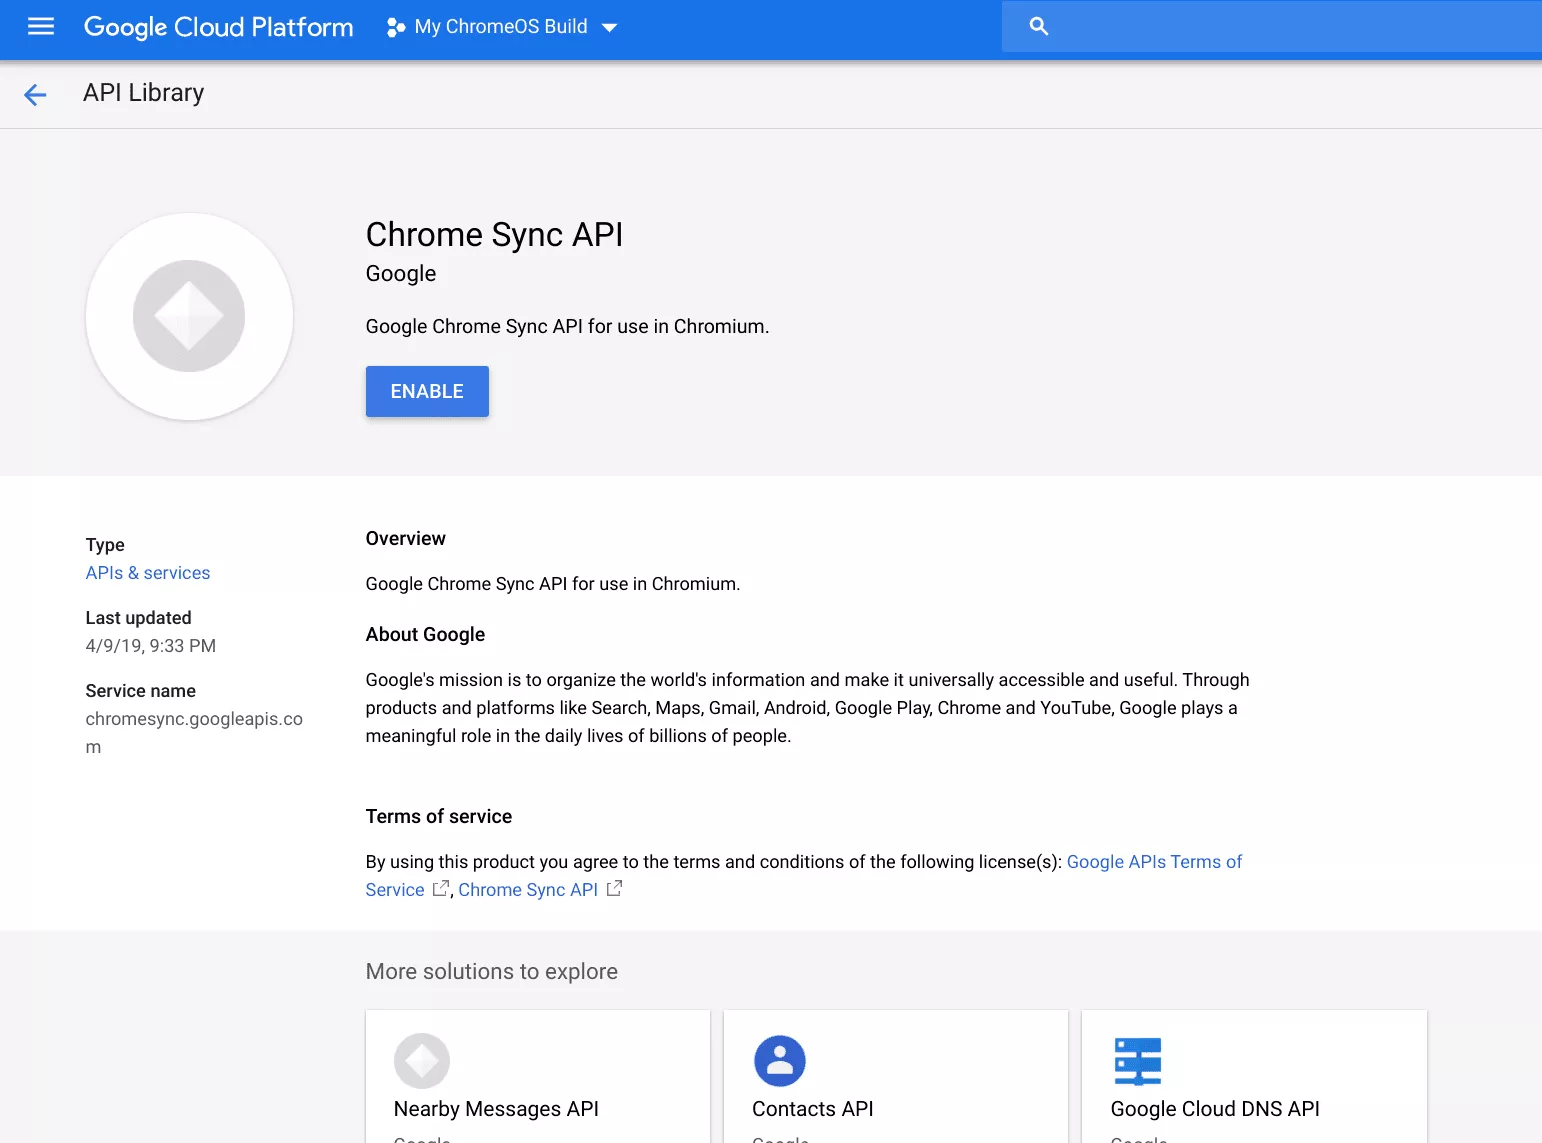
Select the menu icon in the top left corner on of the Google Cloud Console and select “APIs & Services” and select “Libraries”
You will now be presented with a list of available Google API Libraries. You will need to enable the following APIs from the list
- Calendar API
- Contacts API
- Drive API (Optional, enable this for Files.app on Chrome OS and SyncFileSystem API)
- Chrome Remote Desktop API
- Chrome Spelling API
- Chrome Suggest API
- Chrome Sync API (This will NOT work on Android!)
- Chrome Translate Element
- Chrome Web Store API
- Chrome OS Hardware ID API (Optional, Chrome OS)
- Device Registration API (Optional, Chrome OS)
- Google Cloud DNS API
- Google Cloud Storage
- Google Cloud Storage JSON API
- Google Maps Geolocation API (requires enabling billing but is free to use; you can skip this one, in which case geolocation features of Chrome will not work)
- Google Maps Time Zone API
- Google Now For Chrome API (Optional, enabled to show Google Now cards)
- Nearby Messages API
- Safe Browsing API
Some of these API options may require you to setup billing, You are allotted a number of free API calls per month on paid API options but the number of calls before you get charged is quite high. Please read the terms of each and enable them.
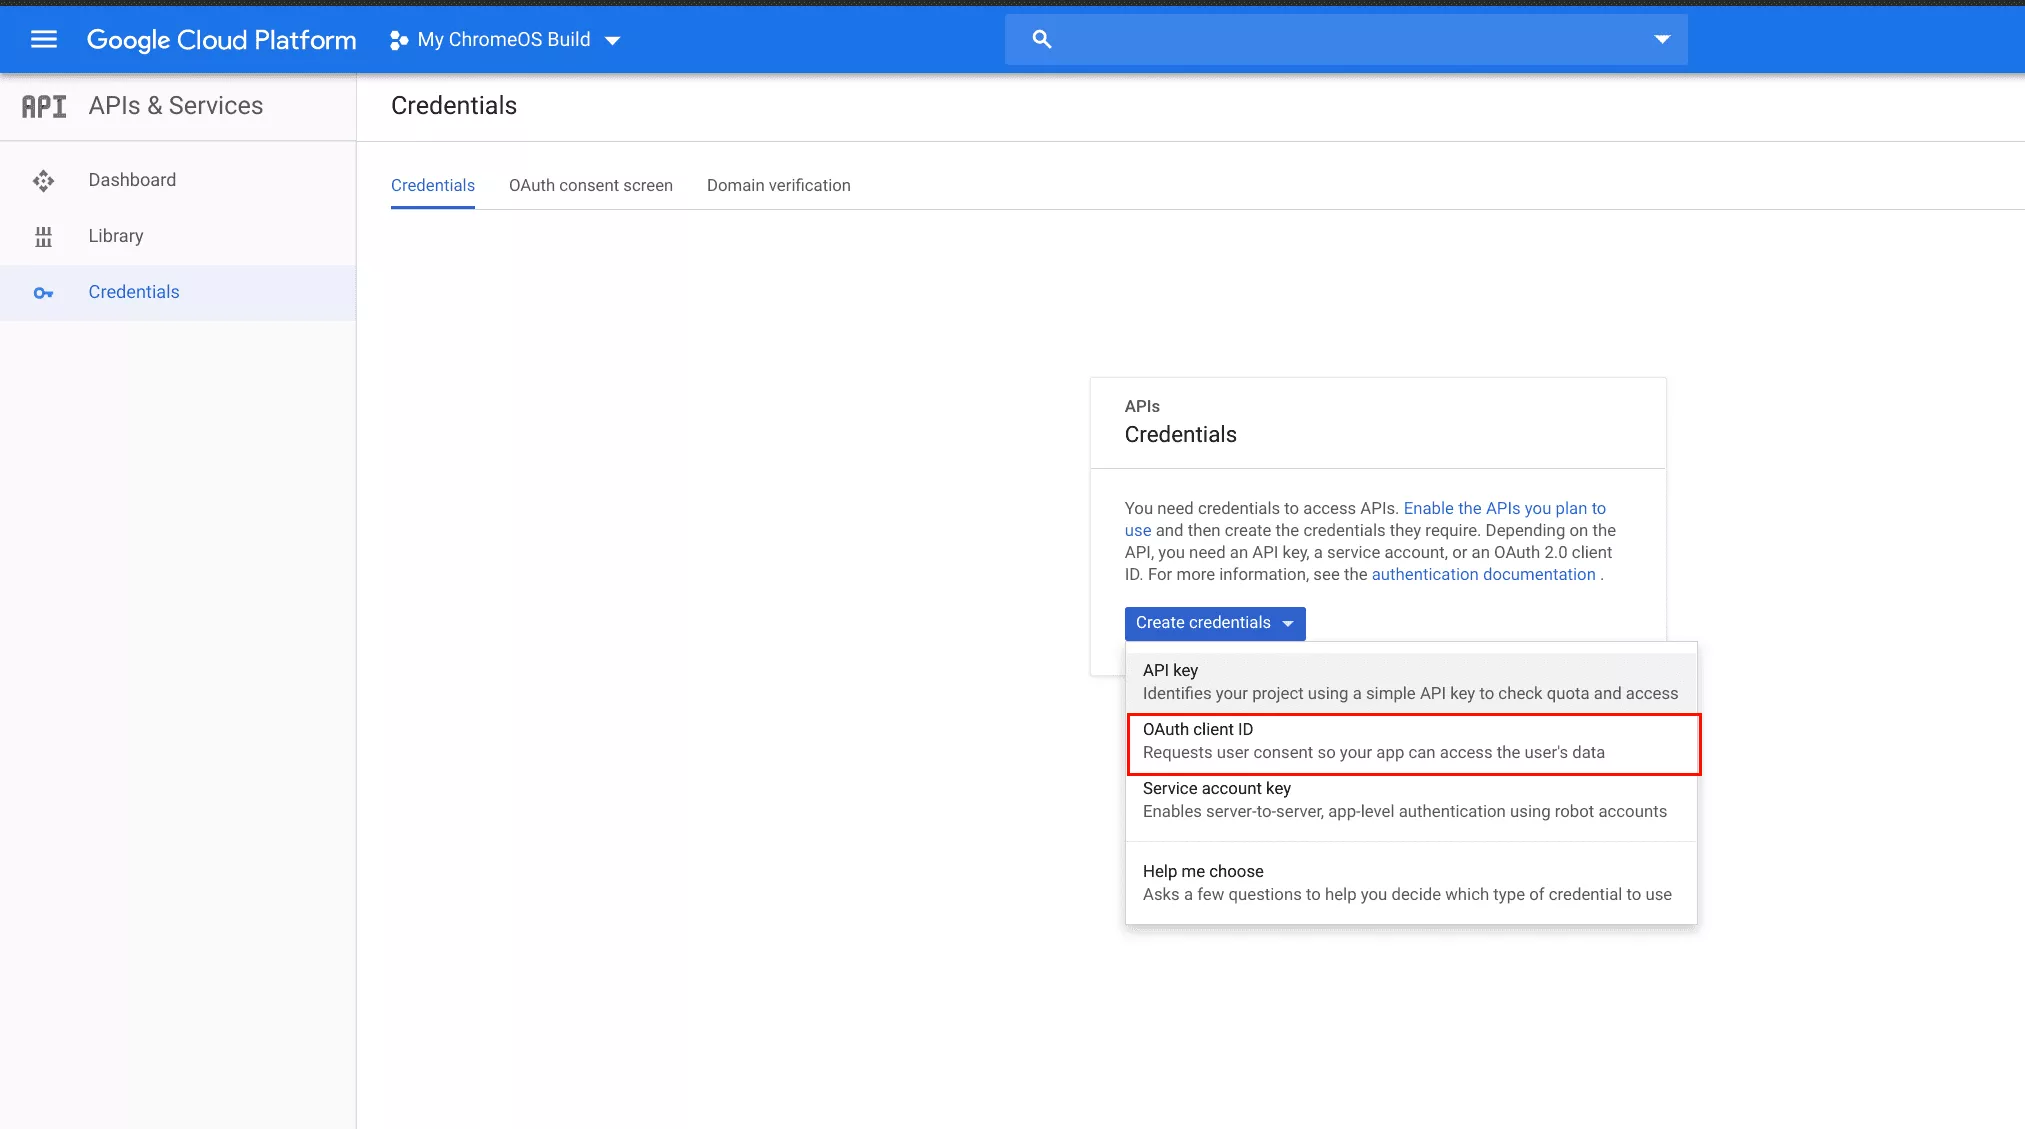
One you have enabled all of the API options above, go back to the main menu of the Cloud Development Console and select “APIs & Services” and select “Credentials”. Click on “OAuth Client”
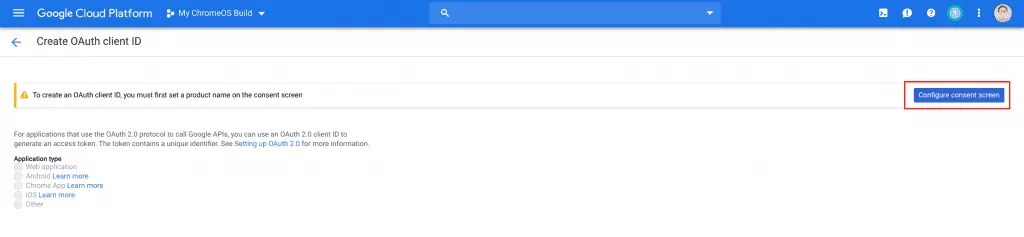
Click on “Configure Consent Screen”
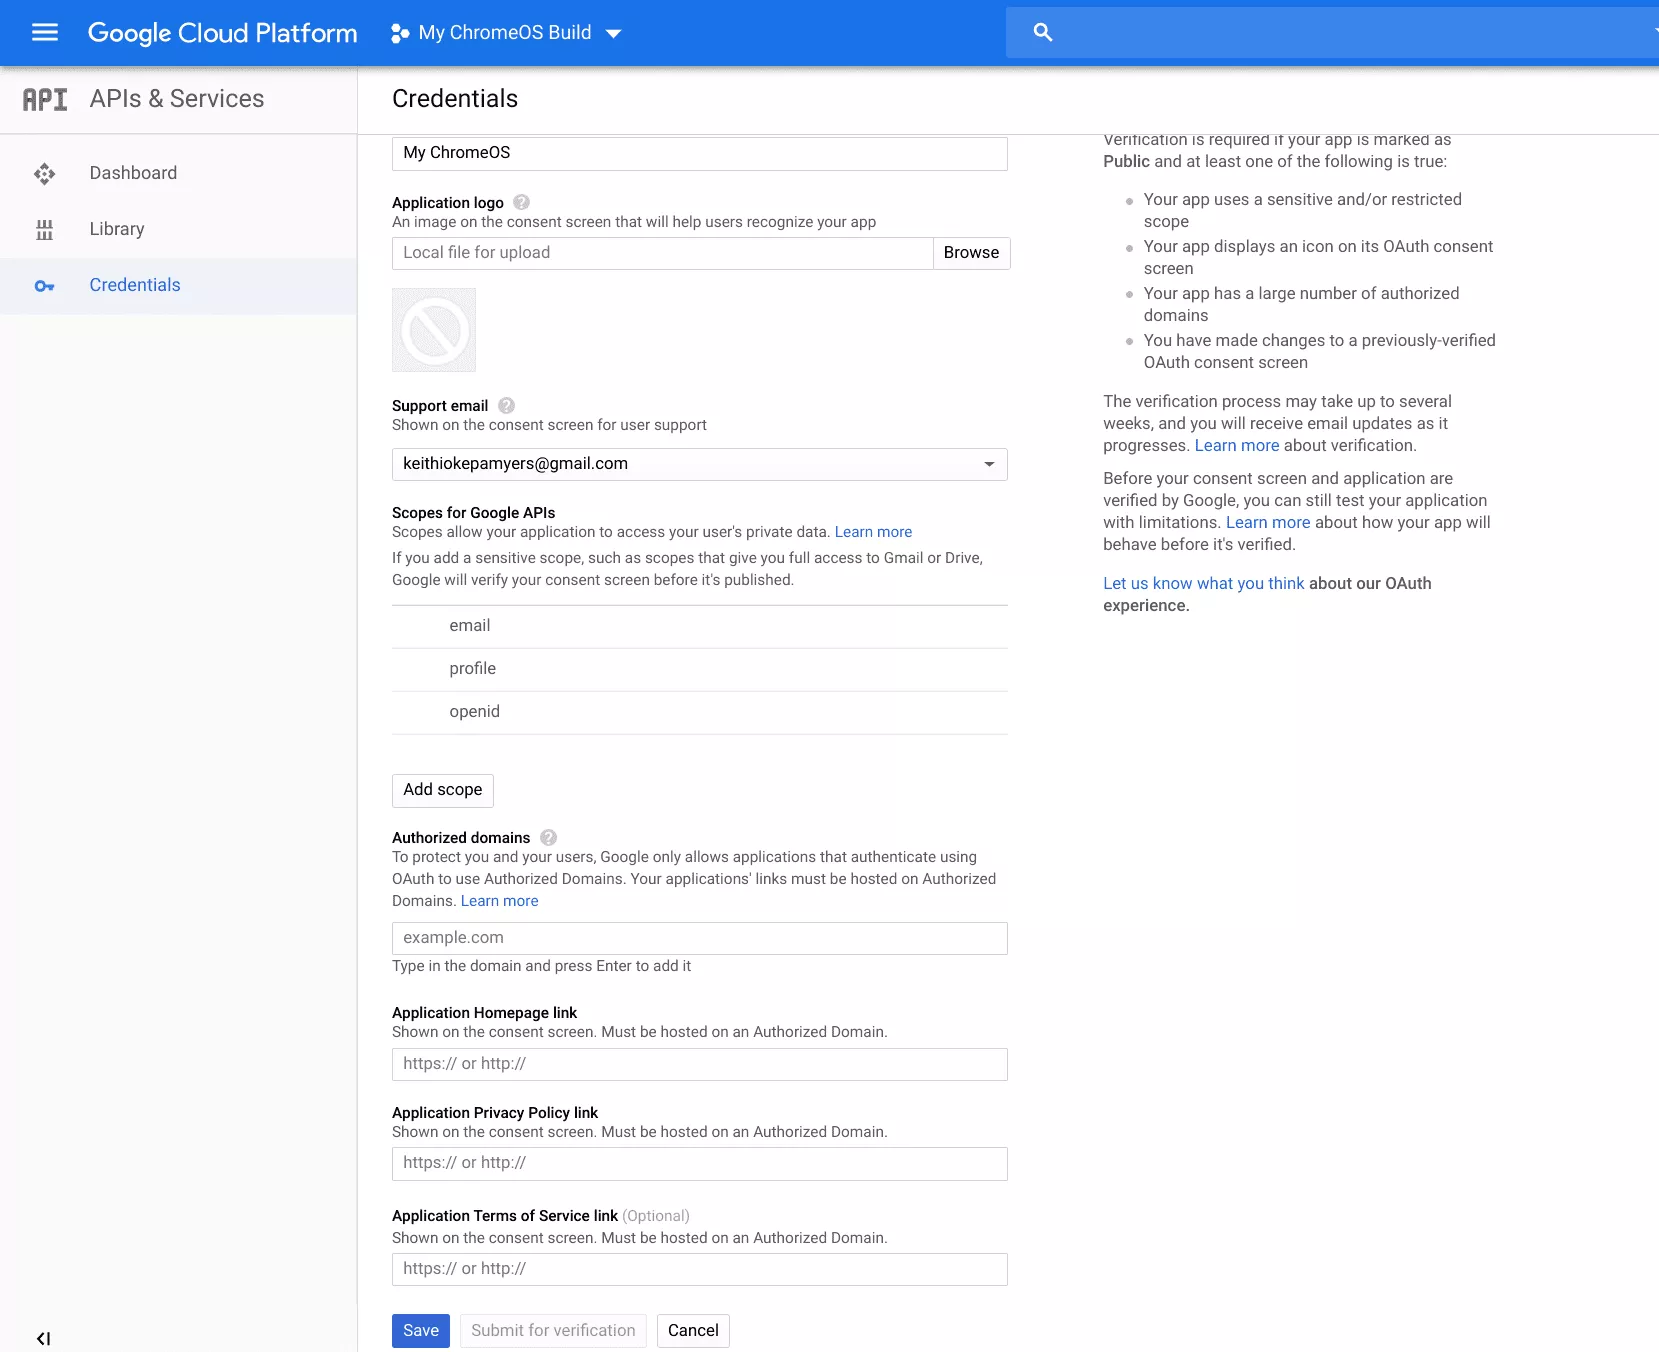
Enter a name for “Application Name” and select “Save” at the bottom
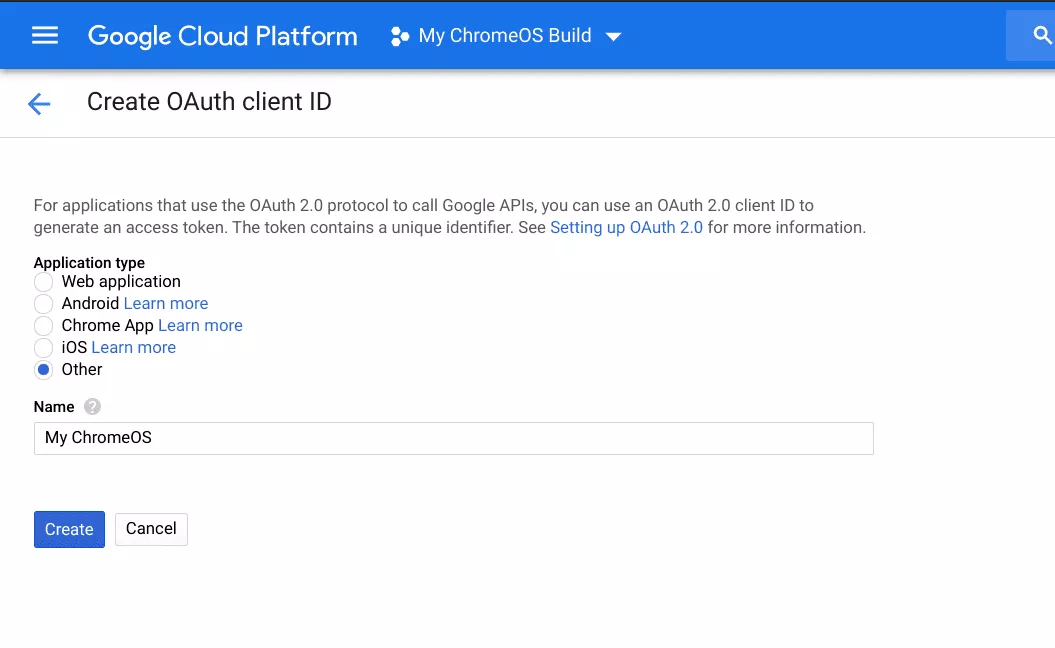
You will now be sent to a screen advising you to create the OAuth Client ID, select “Other” from the available options and “Create”
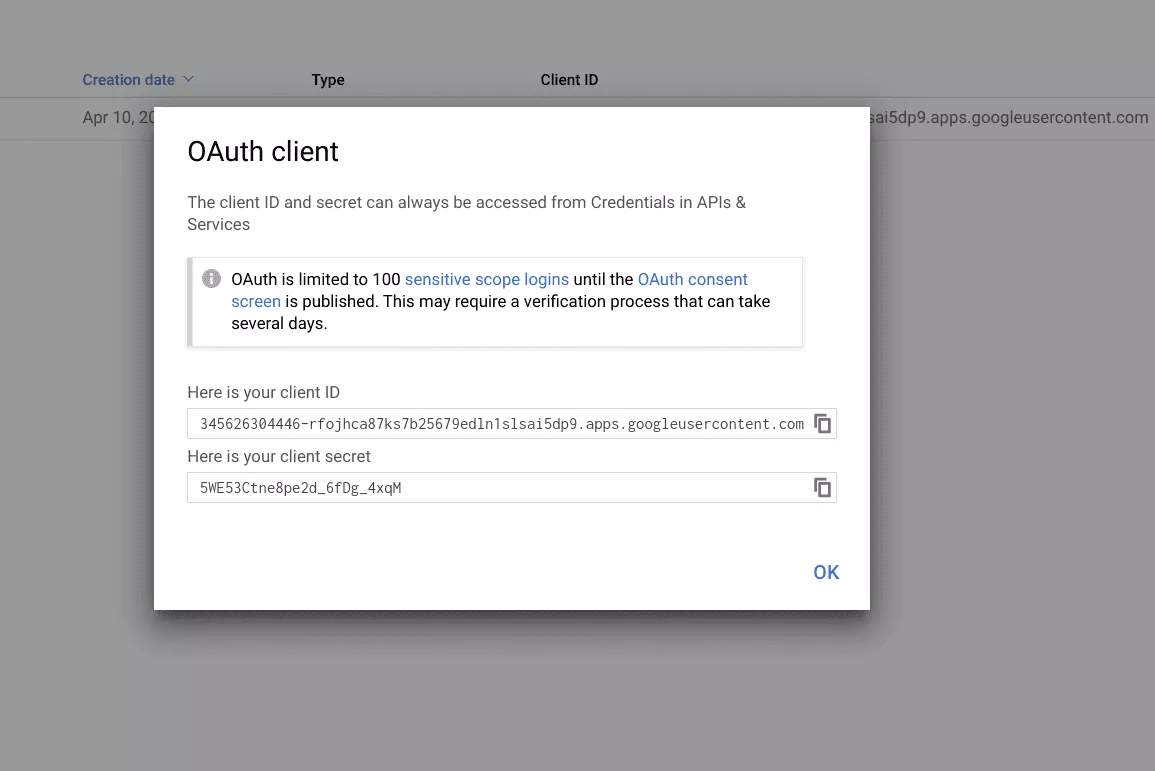
You will be given a set of credentials, please save them in a secure location. They will be needed again shortly. The client secret should be kept confidential – I will be revoking the ones in the screenshot below before publishing this guide. The client secret cannot be displayed again once you click “Ok” so ensure to save them before clicking “Ok”.
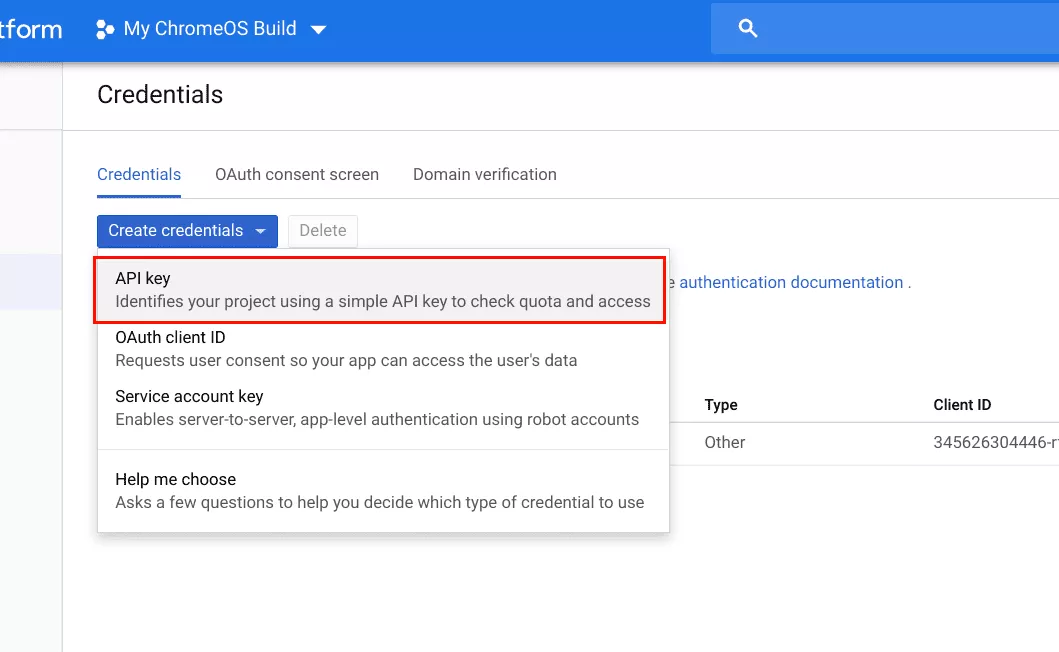
Finally select “Create Credentials” followed by “API Key” to get your API Key. Please also store this in a safe place.
Configuring API Keys on the Build Server
Run the following command on the Build Server via SSH to create a text document to store the API Keys
nano ~/.googleapikeys
Copy and Paste the following – replacing each of the values with the values you obtained in the previous steps.
google_api_key = "YOUR API KEY"
google_default_client_id = "YOUR CLIENT ID"
google_default_client_secret = "YOUR CLIENT SECRET"
Setting Up Git
Run the following on your build server
git config --global user.email "YourEMailAddress"
git config --global user.name "YourName"
Getting and Building the Source Code
Initial Build
The following steps will need to be done on the Build Server and can be used to do the initial download of the ChromiumOS source code and perform the first build. This process will take quite a bit of time depending on the speed of the Build Server and the Download Speed of the Build Server.
mkdir ~/Workspace
mkdir ~/Workspace/ChromiumOS
cd ~/Workspace/ChromiumOS
repo init -u https://chromium.googlesource.com/chromiumos/manifest.git --repo-url https://chromium.googlesource.com/external/repo.git
repo sync -j8
This may take several hours to complete as it downloads the source code for ChromiumOS. Your ChromiumOS build will be done in ~/Workspace/ChromiumOS/.
Once the source code has been downloaded, run the following commands to create the ChromiumOS build chroot
cros_sdk --enter
This process may take some time as it will download a customized build environment for ChromiumOS. When the envirmoment is setup, you will see the following prompt
(cr) ((d2695f8...)) kmyers@build ~/trunk/src/scripts $
Enter the following to begin building your ChromeOS Distribution (Replace “YourIPAddress” with the IP Address of your build server. This can be an internal IP address but you will lack the ability to update your distribution while outside of your LAN. The instructions below will also tell the ChromiumOS update service to check for updates on port 8555 on your build server. You can change this port if you wish – just make sure that it is open in your firewall if needed.
export BOARD=amd64-generic
export CHROMEOS_VERSION_DEVSERVER="http://YourIPAddress:8555"
export CHROMEOS_VERSION_AUSERVER="http://YourIPAddress:8555/update"
export CHROMEOS_RELEASE_TRACK="stable-channel"
export CHROMEOS_RELEASE_BOARD="amd64-generic"
export HOME_URL="https://KMyers.me/"
export NAME="My Custom ChromiumOS Build"
./build_packages --board=${BOARD}
The process above will take a few hours to complete depending on the speed of your server. Once the build has been completed, you can build the images with the following command
./build_image --board=${BOARD} --noenable_rootfs_verification dev
exit
Building the images may take a few hours depending on the speed of your server. You can now use a SCP application such as WinSCP (if on Windows) to copy the images from your server. Navigate to ~/Workspace/ChromiumOS/src/build/images/amd64-generic/latest and download the file “chromiumos_image.bin”. This file is quite large and may take time based on your internet speed.
Update/OTA Build
The following steps can be repeated as often as you like to keep your custom build of ChromiumOS up to date. The steps below will go through the process of downloading the source code changes, rebuilding the sources, creating new images and finally launching a process that will handle the OTA upgrades.
SSH into your Build Server and run the following to download the source code and start the build.
cd ~/Workspace/ChromiumOS
repo sync
cros_sdk --enter
You will be taken into the ChromiumOS chroot to complete the next steps, you will be presented with a line that resembles the line below
(cr) ((d2695f8...)) kmyers@build ~/trunk/src/scripts $
Run the following, make sure to replace the “YourIPAddress” with the IP Address of your Build Server.
export BOARD=amd64-generic
export CHROMEOS\_VERSION\_DEVSERVER="http://YourIPAddress:8555"
export CHROMEOS\_VERSION\_AUSERVER="http://YourIPAddress:8555/update"
export CHROMEOS\_RELEASE\_TRACK="stable-channel"
export CHROMEOS\_RELEASE\_BOARD="amd64-generic"
 export HOME\_URL="https://KMyers.me/"
export NAME="My Custom ChromiumOS Build"
./build\_packages --board=${BOARD}
./build\_image --board=${BOARD} --noenable\_rootfs\_verification dev
exit
As with the initial build, this will take some time to complete depending on the speed of your Build Server.
If you wish to enable the “Check for Updates” in the ChromiumOS Settings menu, complete the steps in the section below named “Starting the Dev Server”.
Starting the OTA Server
If you wish to enable the ability for your build of ChromiumOS to perform automatic updates, run the following commands. You only need to do this once every reboot of the server.
cd ~/Workspace/ChromiumOS
screen cros_sdk --enter
You will be taken into the ChromiumOS chroot to complete the next steps, you will be presented with a line that resembles the line below
(cr) ((d2695f8...)) kmyers@build ~/trunk/src/scripts $
Run the following command (change the port number to match what you specified in the build)
start_devserver --port 8555
Finally press CTRL+Shift+a and the letter “d” on your keyboard to detach from the shell and keep it running in the background.
Flashing the Build of ChromiumOS to a Flash Drive
While this can be done with any tool that can write a raw image to a flash drive (such as dd), I will cover the steps to do this via the Chrombook Recovery Tool which supports MacOS, Windows and ChromeOS. If you use Linux, you can use Etcher or Gnome Disks or dd.
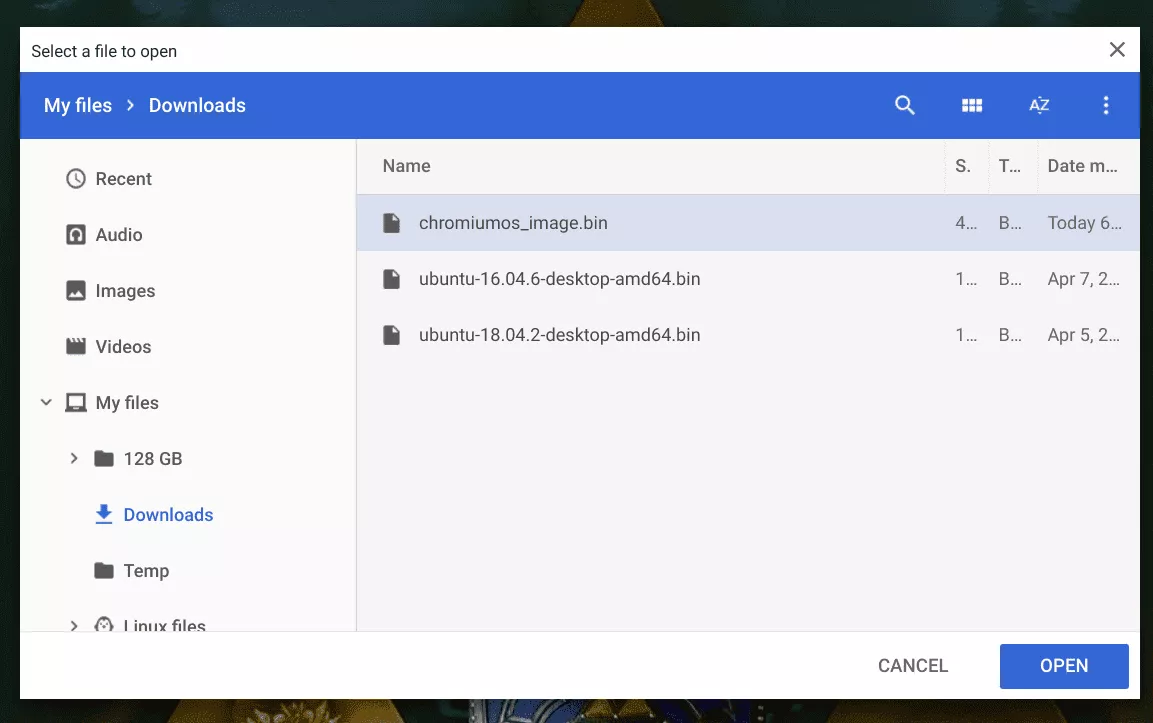
Launch the Chromebook Recovery Tool and select “Use Local Image”
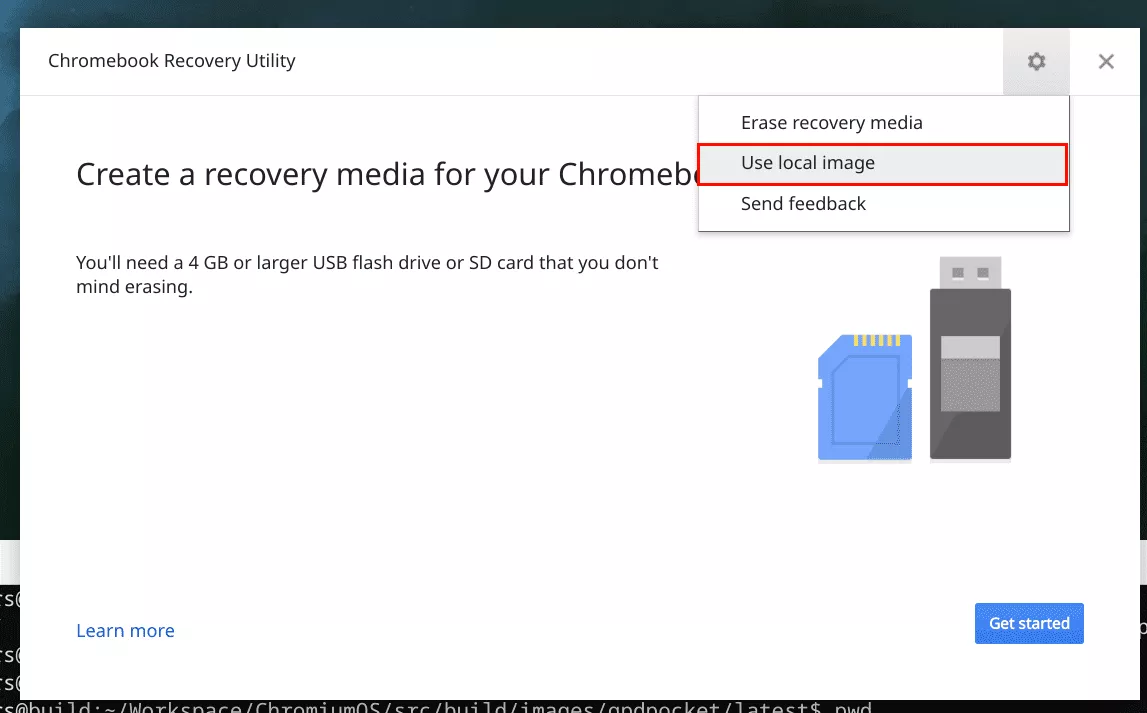
Select the “chromiumos_image.bin” that you downloaded earlier.
Now insert and select the flash drive that you intend to use.
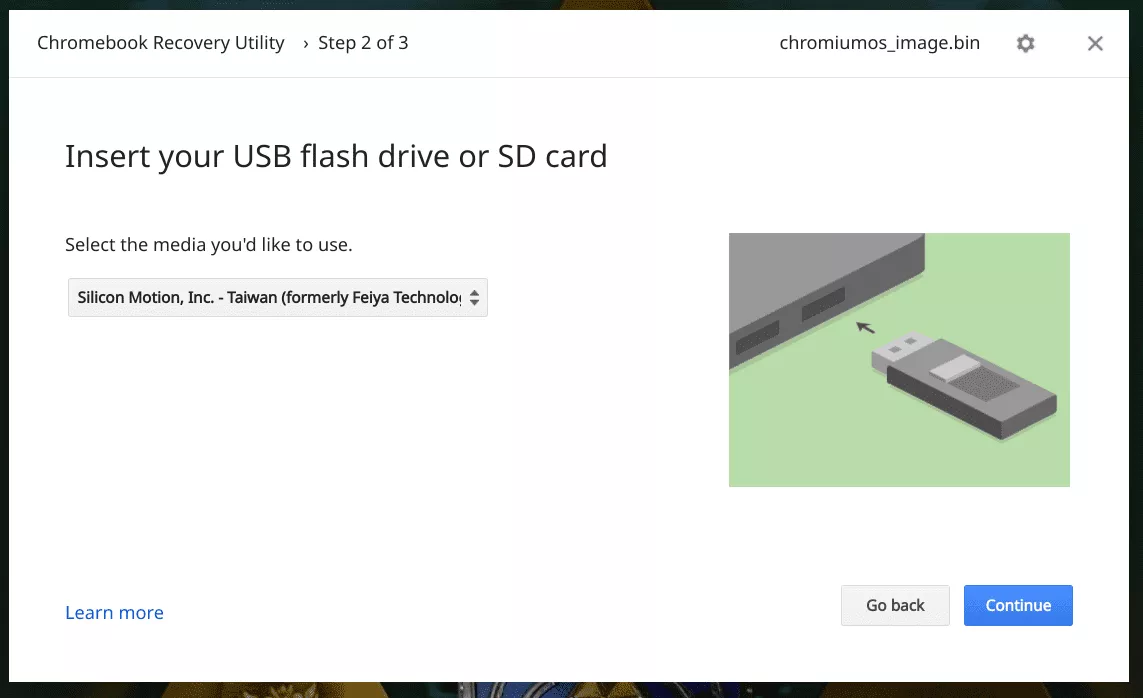
Press “Continue” to create your installation media.This process will take several minutes and when complete, you will have a bootable flash drive with your custom build of ChromiumOS installed.
Installing Your Custom Build of ChromiumOS
You will need to boot to the USB flash drive on the computer that you wish to use to run your custom ChromiumOS build. I will not cover the steps to boot to a USB drive, please refer to the specific manufacturer instructions if you are unfamiliar with the boot process. Furthermore the installation of the image onto the computer will destroy all of the data on the hard drive – be sure to backup anything you wish to keep.
You will see a GRUB Boot Menu, you do not need to select anything on this screen. You will eventually be taken to the ChromiumOS Welcome Wizard, do not attempt to sign in at this time. Press ALT+CTRL+F2 on your keyboard and you will be taken to a shell login. Enter the username “chronos” and the password is “test0000”
Run the following command (Replace the /dev/sda if needed). This will erase everything on the computer.
sudo /usr/sbin/chromeos-install --dst /dev/sda
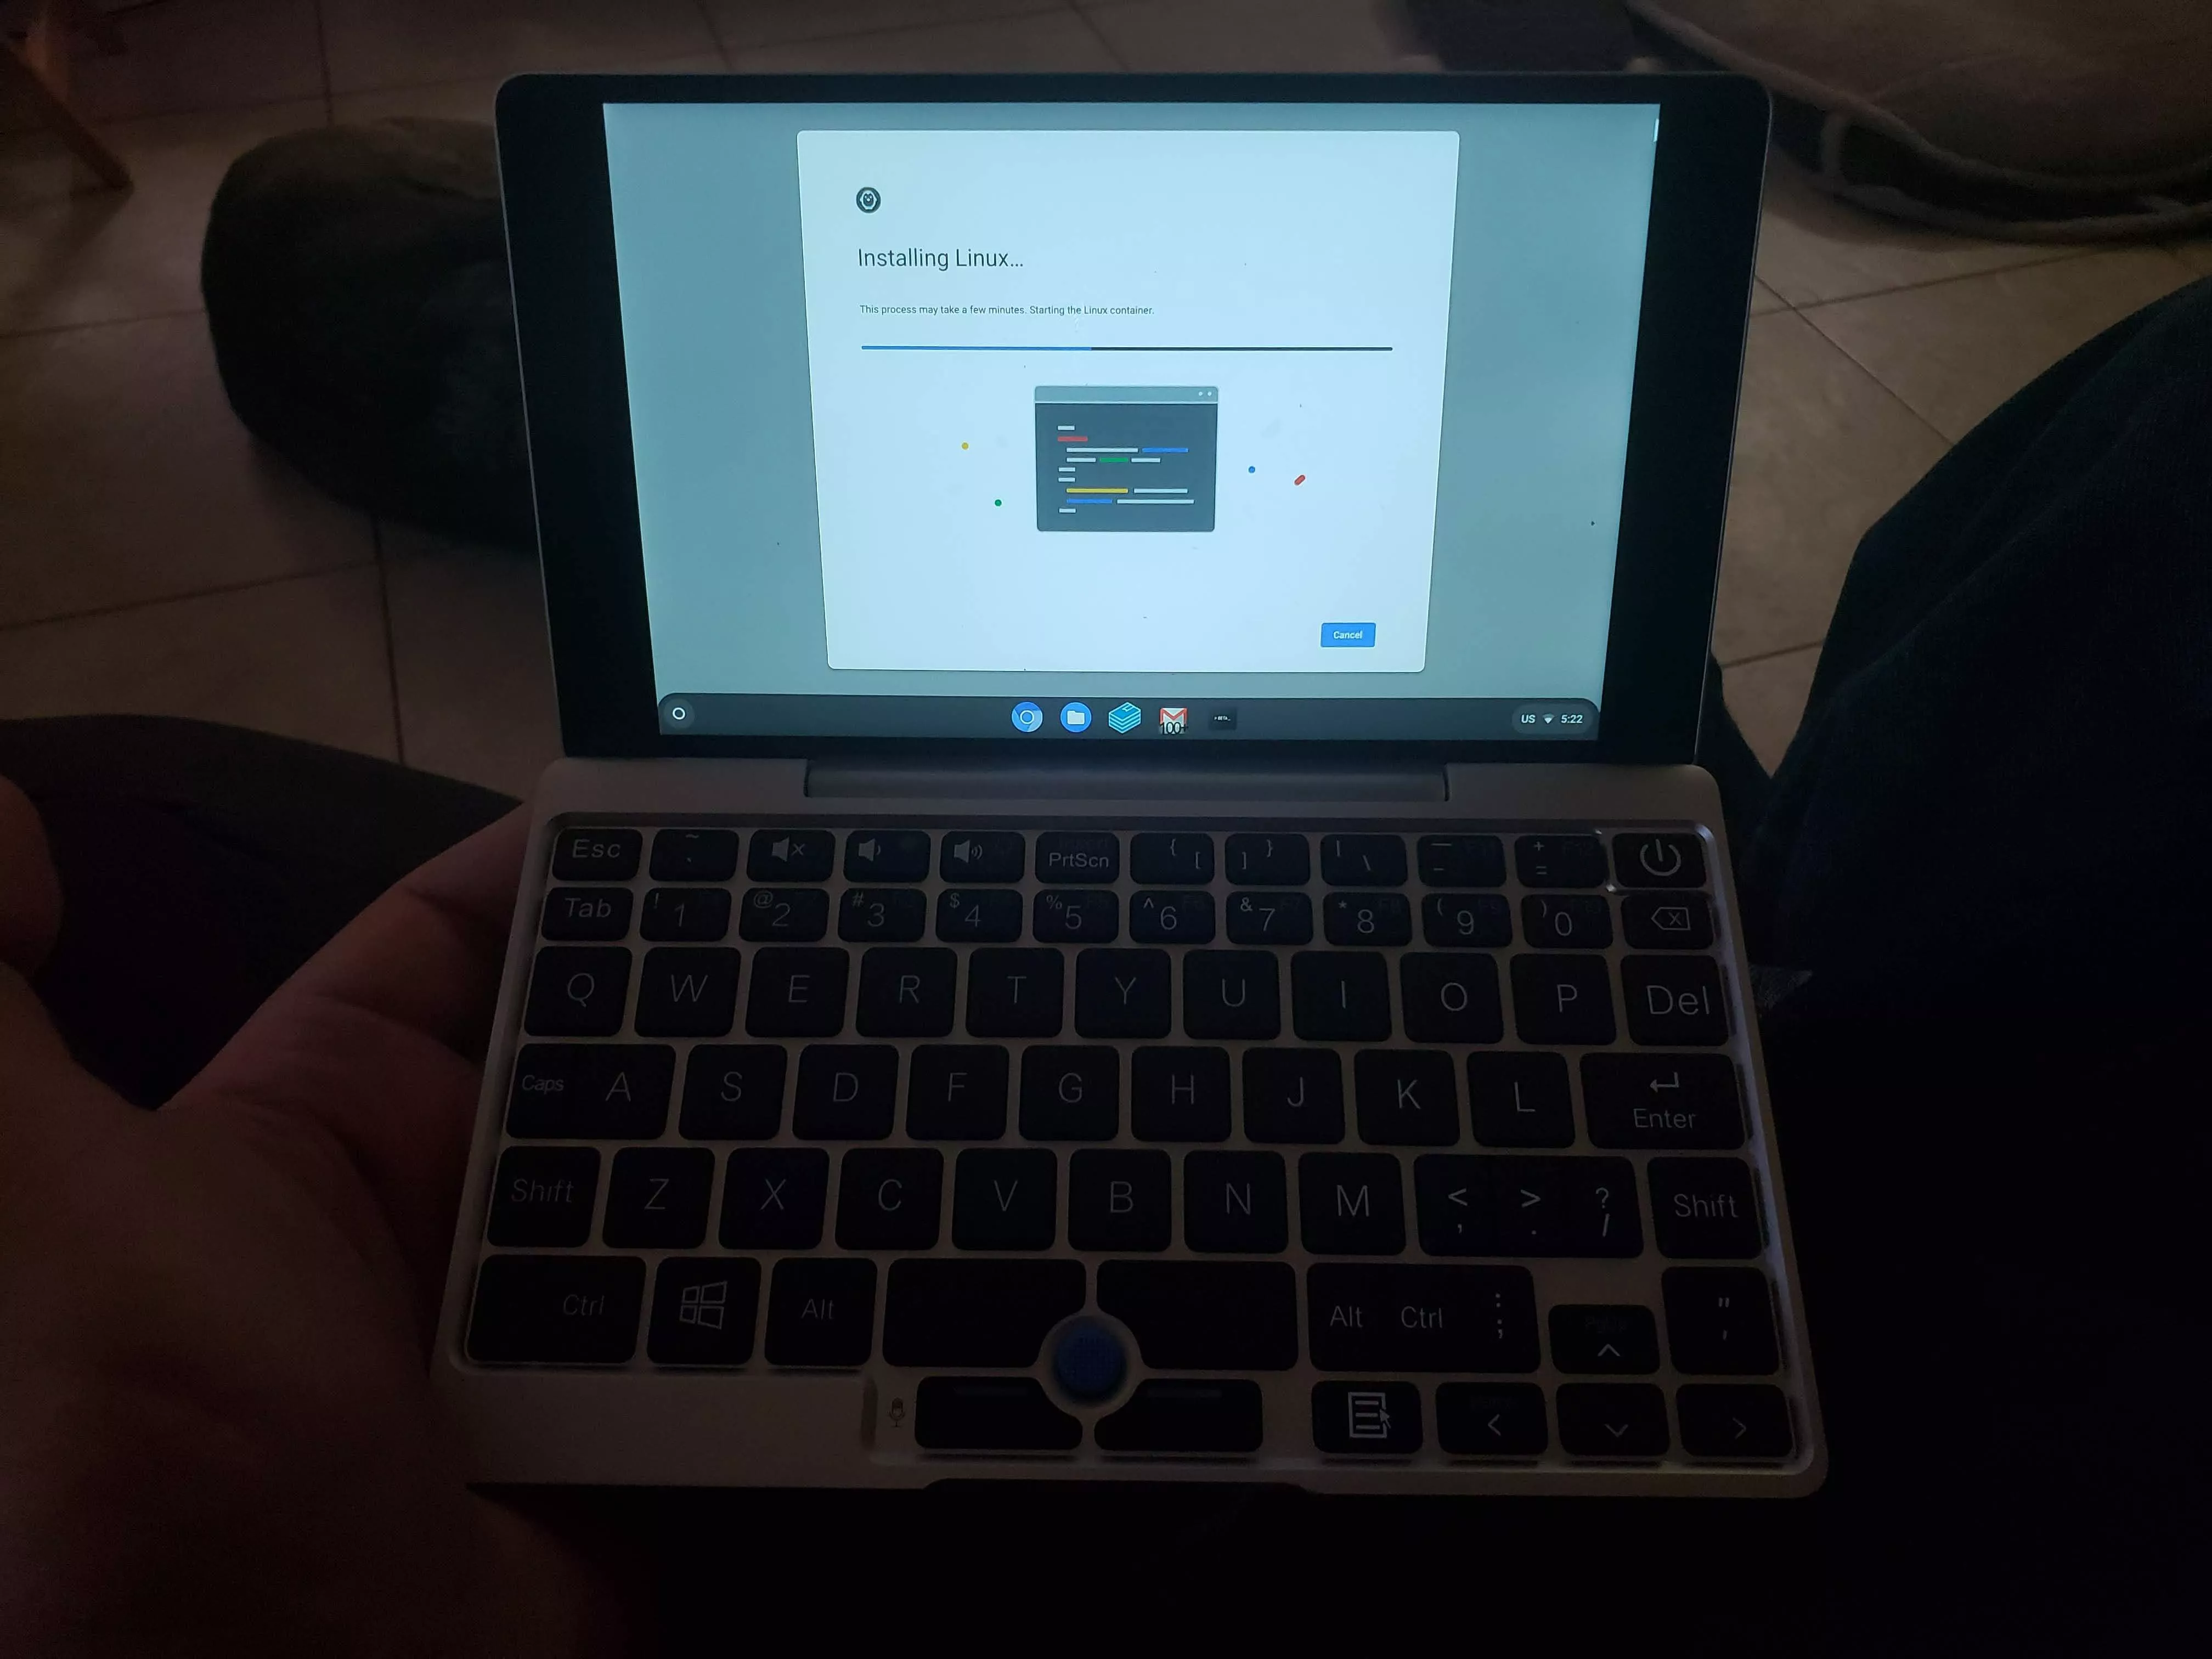
You can now reboot your computer and if everything went well, boot into your custom build of ChromiumOS. After logging in with your GMail/GSuite account, you can enable support for Crostini by opening the Settings and selecting “Linux Beta”.
Conclusion
This guide is just scratching the surface on what is possible – it is best to read the official guide at https://chromium.googlesource.com/chromiumos/docs/+/master/developer_guide.md