The Pixelbook has a Hardware U2F Token Built In – Here is how you can use it now
I have been a user of hardware security tokens for a long time. My key-chain always has aFeitian MultiPass FIDO Security Key on it at all times to allow me to authenticate to many web services, including the admin section of KMyers.me. I was shocked to learn that Google has hidden a fully functional U2F token in the Pixelbook. I doubt you really need another reason to buy a Pixelbook but this is really a massive feature that was never officially announced. Here is how you can activate it
Disclaimer: This Page Has Been Archived
Please note that this blog post has been archived and may contain information that is outdated, defunct, or covers topics that are no longer of interest. It is being kept available solely for reference purposes, in case others might find portions of it useful.
For more recent and up-to-date tutorials, I recommend visiting KMyers.me or other websites that specialize in the topic you are interested in. It is always advisable to seek the most current information to ensure accuracy and relevance.
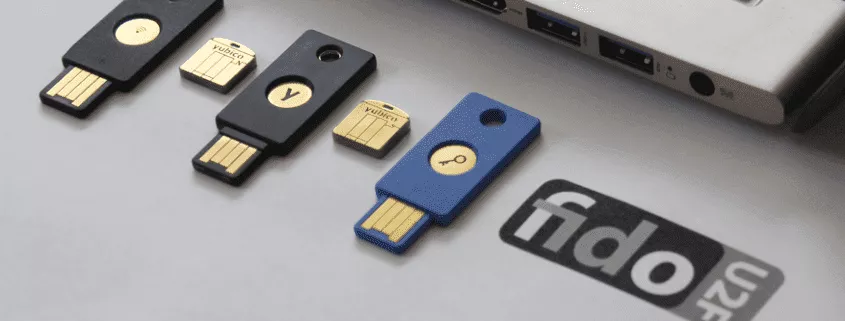
U2F or Universal 2 Factor authentication is a standard that makes your significantly more secure while online by requiring something in addition to your username/password to prove your identification. This is typically done with a unique hardware token that issues a cryptographic signature to a web service. U2F tokens are normally very inexpensiveand easy to get.
On a side note – I can only confirm this is on the Pixelbook. I have tested it with a ASUS Chromebook Flip, HP Chromebook X2 and Samsung Chromebook Plus – only the Pixelbook seems to have this feature although the command below is still exposed on all chromebooks I tested.
At the moment, you must be running Chrome OS 68.0.3440.15 or higher which is currently in the developer channel. Once enabled, you simply need to open a Chrome Shell (Ctrl + Alt + T) and run the following command;
u2f_flags g2f
This command activates a virtual U2F token and sets it to the Pixelbook’s power button. This means that any website that allows U2F tokens such as the YubiKey will now allow you to add your Pixelbook’s built in U2F token by simply tapping the power button on your Pixelbook when the website prompts you to “insert and press the button on your token”.
There are several services such as GMail, NextCloud, DropBox and more that allow the use of U2F tokens. You can normally add multiple tokens and I highly recommend purchasing a spare and keeping it in a safe place – in the event you need to ever powerwash your Pixelbook.
If you want to give this a try, I have enabled U2F tokens on a forum that I own, https://Technical.chat. Here are the steps to register an account and setup your Pixelbook as a U2F device.
- Enable the u2f_flag as instructed above
- Gotohttps://technical.chat/register/and create a new account
- Visit your account profile and select “Two-Step Verification“
- Enable “FIDO U2F” and select “Manage”
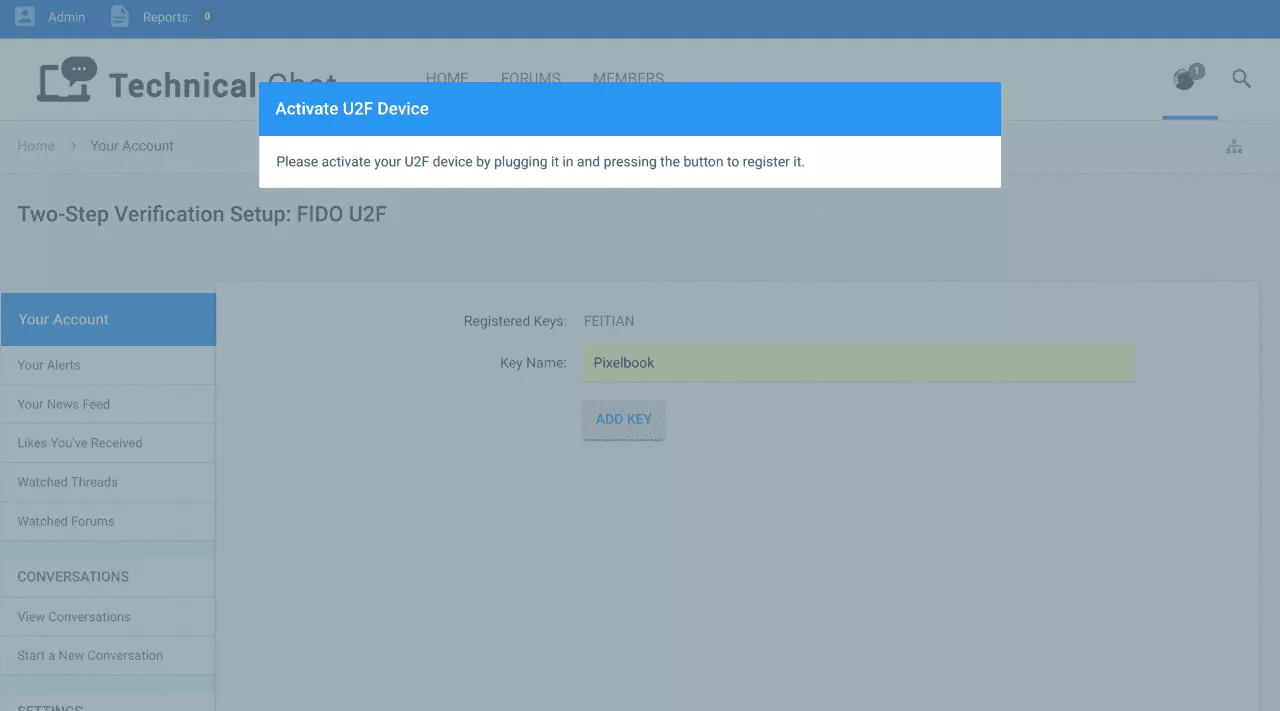
- Type “Pixelbook” or another friendly name in the “Key Name” Field and select “Add Key”
- You will see a “Activate U2F Device” box appear with the text “Please Activate your U2F device by plugging it in and pressing the button to register it” – Simply give the power button on your Pixelbook a quick press and the box will go away.
You can now test it by logging out of Technical.chat and logging back in. You may need to select “FIDO U2F” if you choose to activate other 2 factor features on that site. While you are there, feel free to drop in and introduce yourself – there are occasional prize giveaways for active members 🙂